
|
|
BOTTING NET |
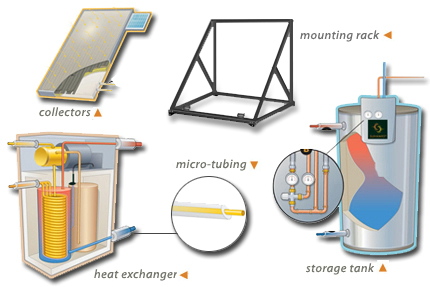 We decided on the Sunward System www.Sunward.com | 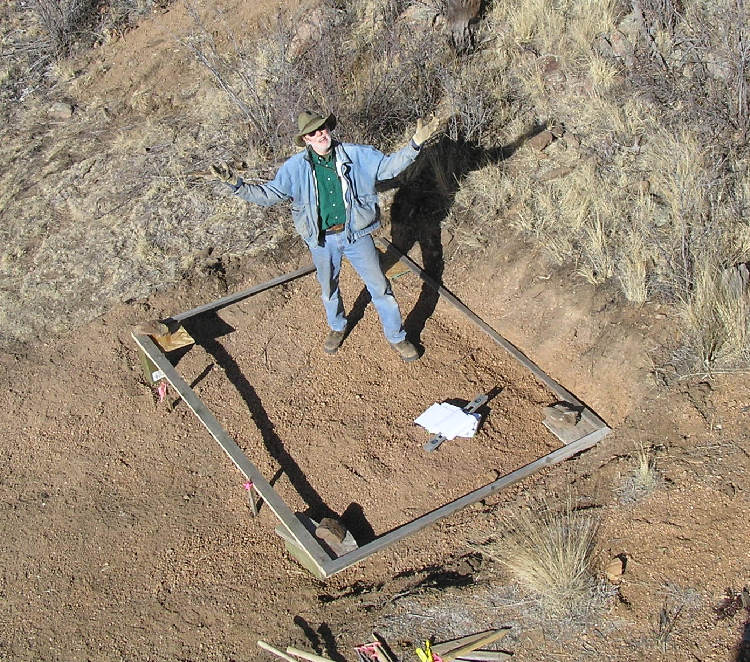 Preping site for panels 12/11/10 | 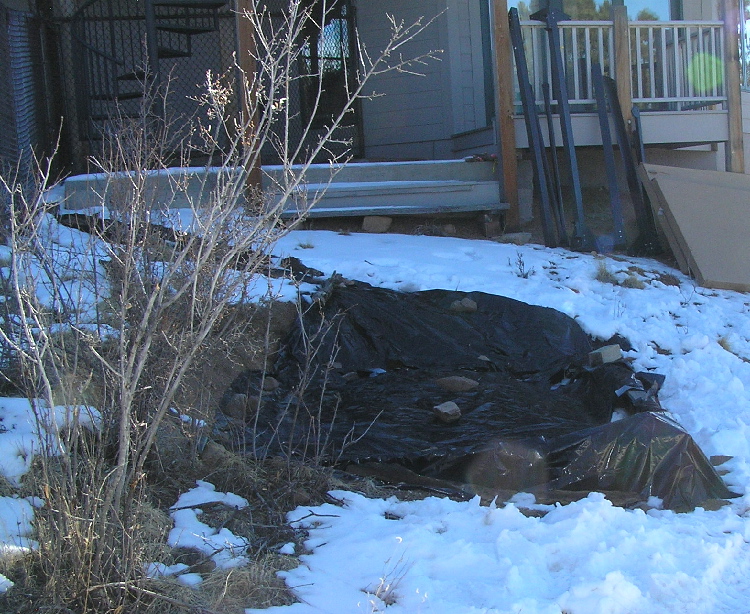 Protect site from winter cold and snow |
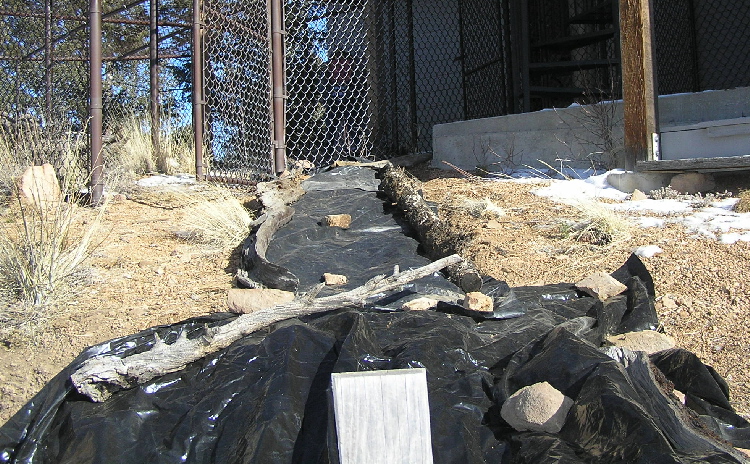 And, protect trench path | 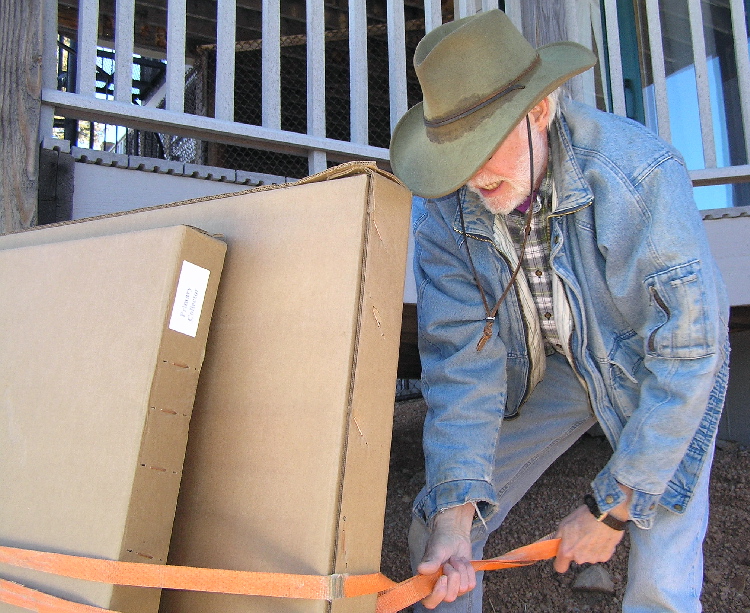 Store panels secured to porch 2/12/11 | 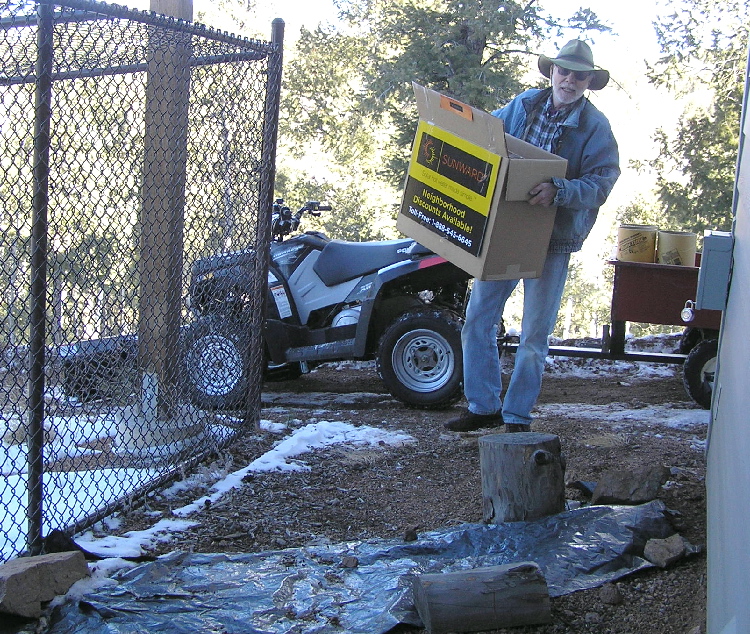 Moving SOL parts to basement storage |
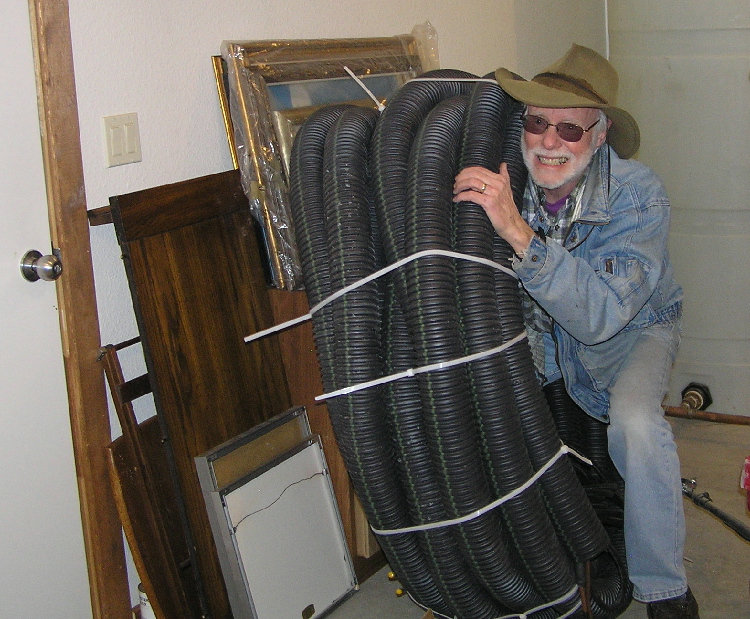 Conduit with tubing and electric cable was a bit heavy |
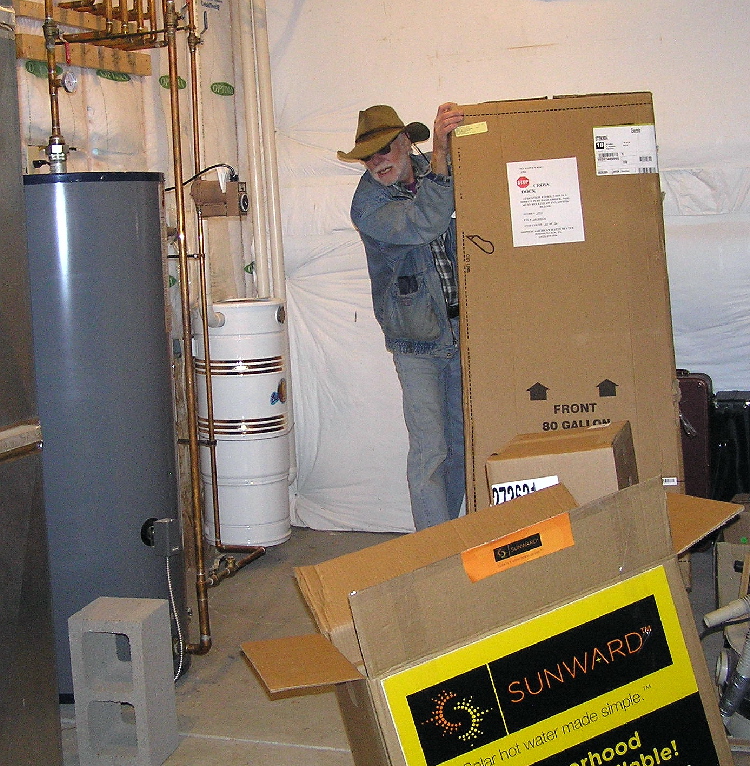 Placing tank and heat exchanger | 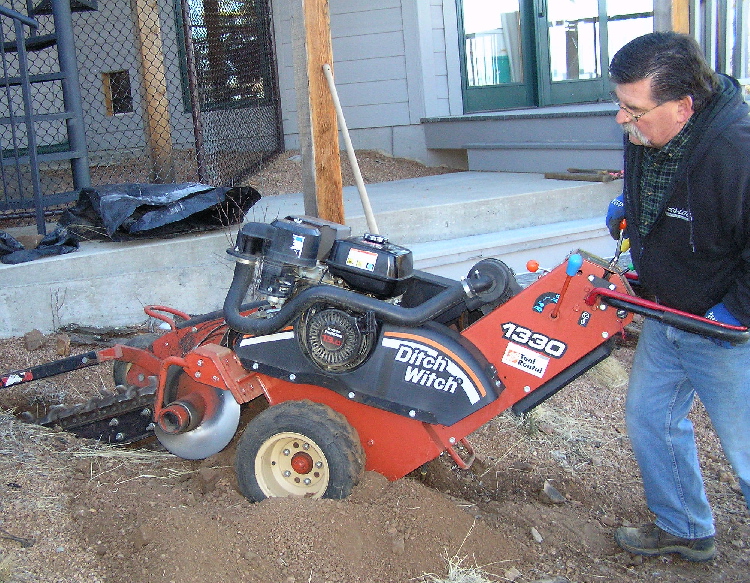 Jim (install crew) starts trench from panels to basement 2/16/11 |
 Larry (Contractor) & Neil assemble Panel base |
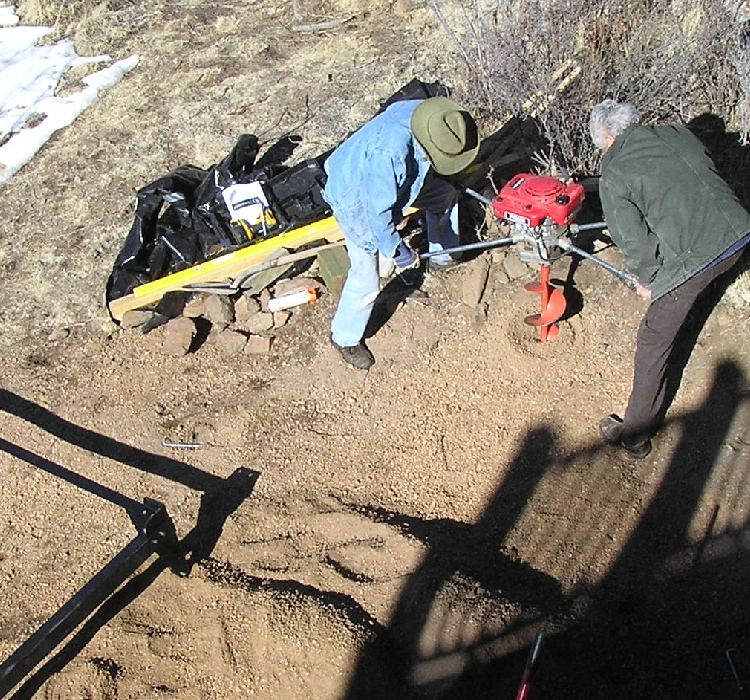 Drilling holes for base foundation | 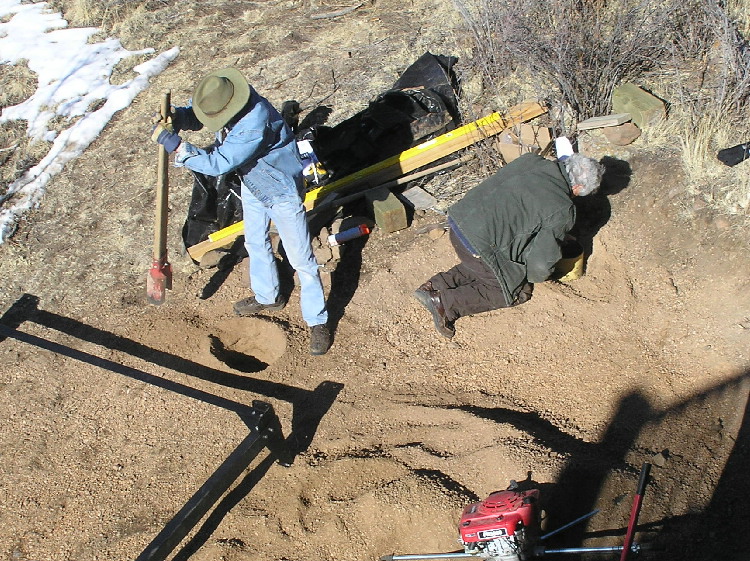 Finishing holes & placing sonotube |
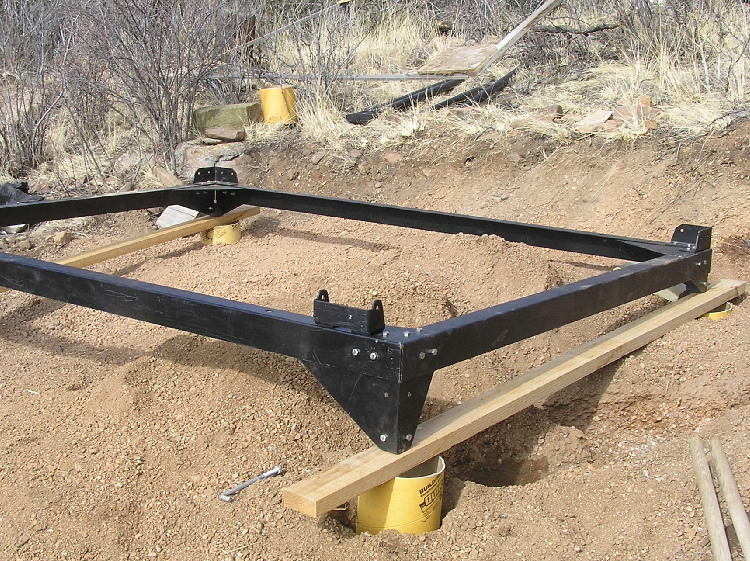 Final leveling, anchor bolts and sonotube placements |
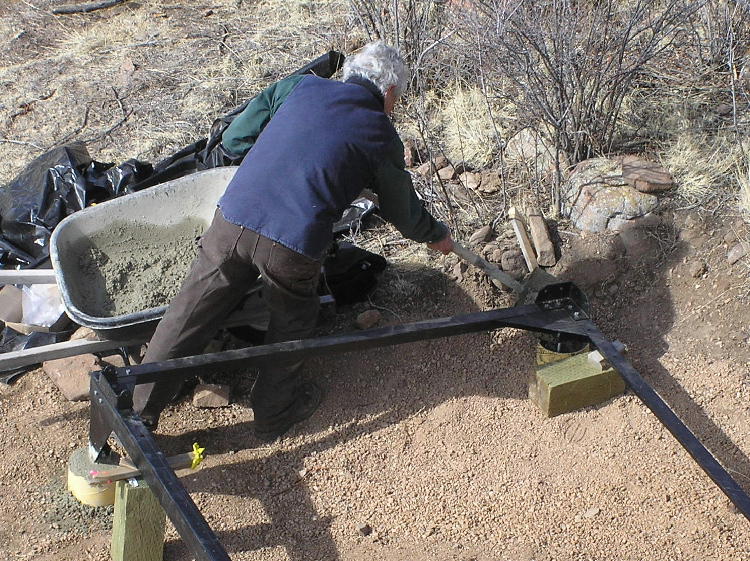 Pouring concrete. "L" anchor bolts in place thru frame foot | 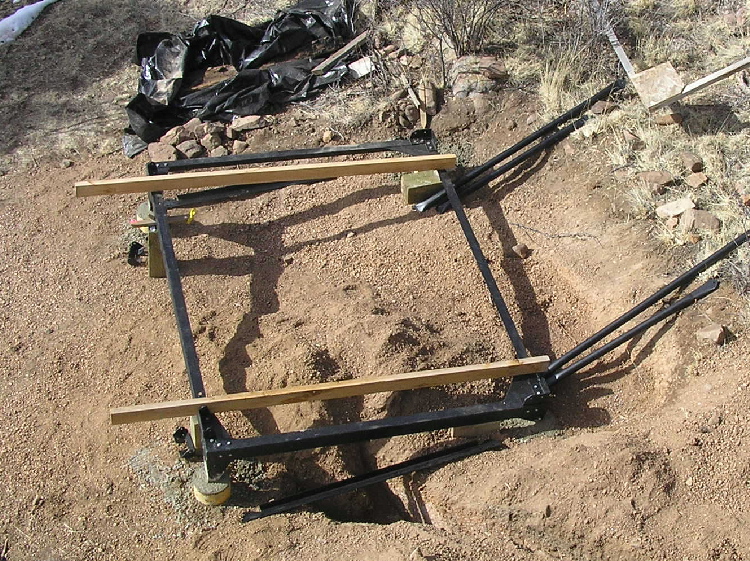 Frame in final position. Now let the concrete set |
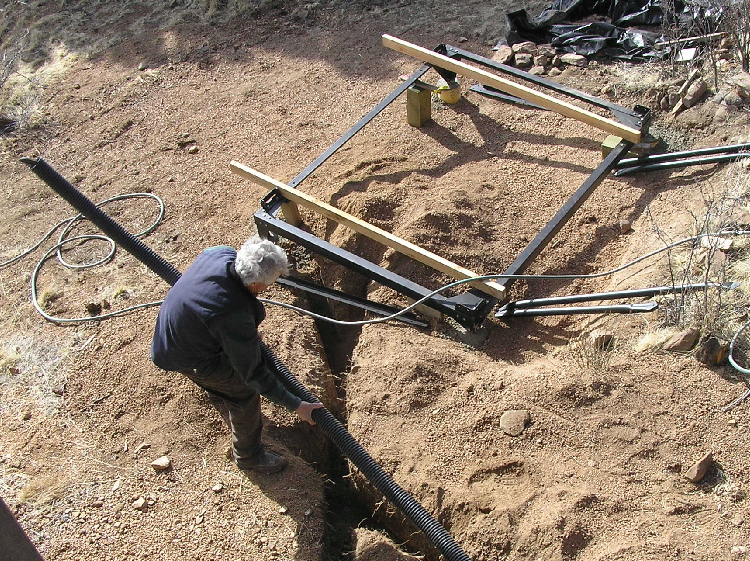 Placing conduit in trench. Contains insulated copper tubing and electrical cable |
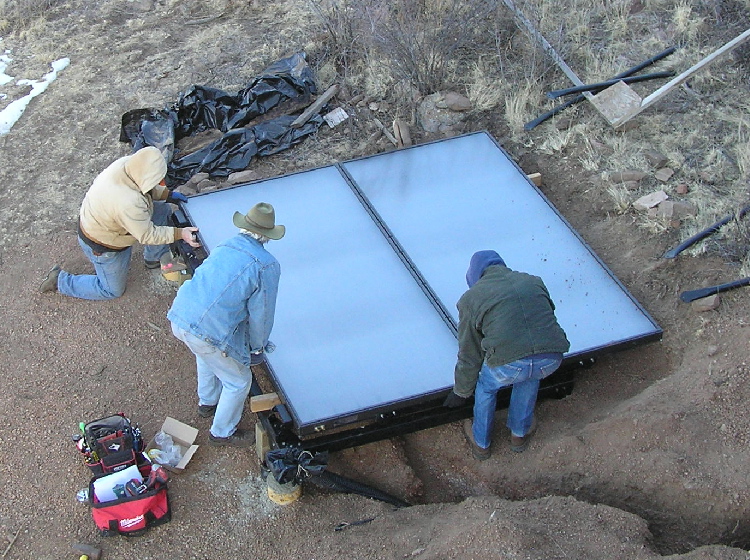 Next day - Placing & bolting solar panels 2/17/11 | 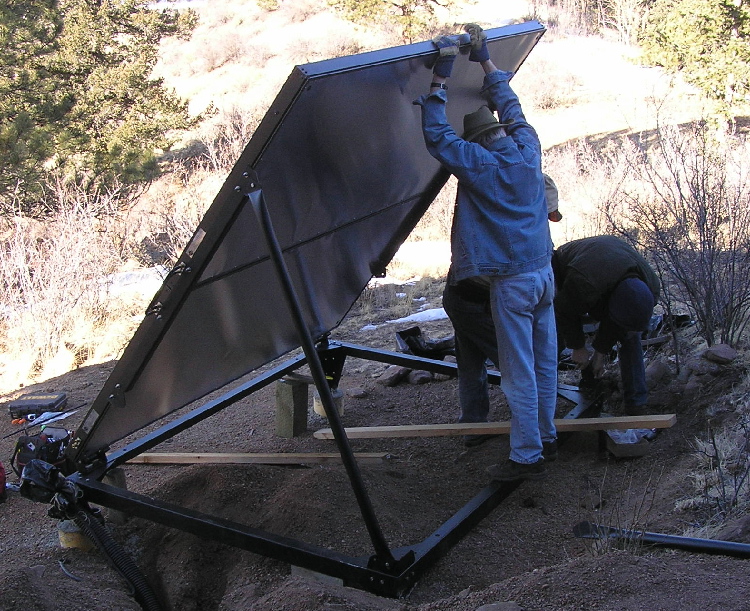 Securing upright supports |
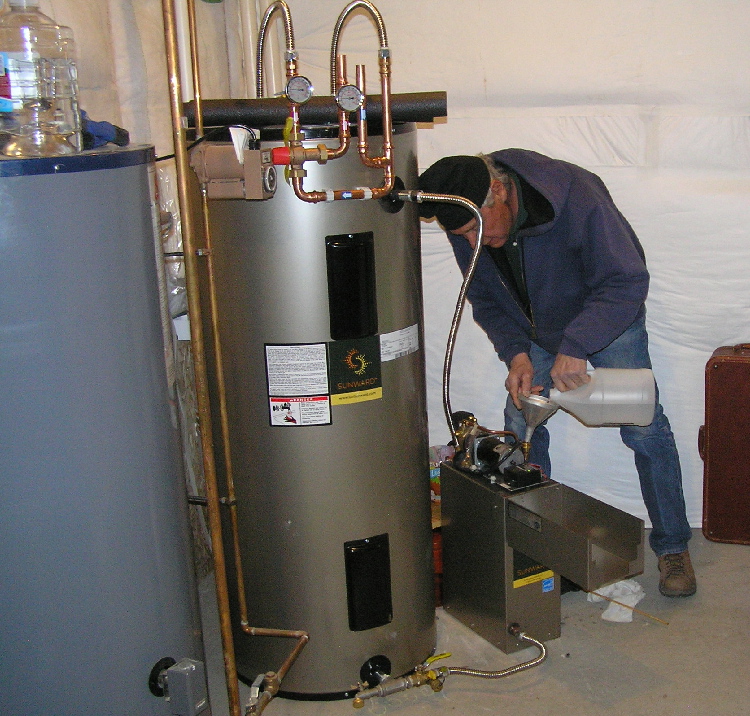 Solar HW tank & Heat Exchanger in place, connections all made, topping off the glycol |
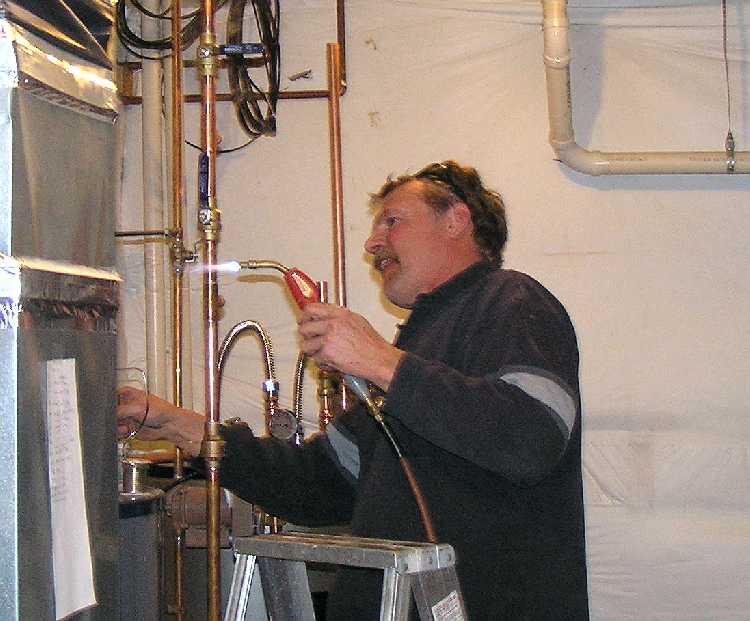 Greg makes the tie-in to the existing hot water tank 2/18/11 |
 Inside complete |
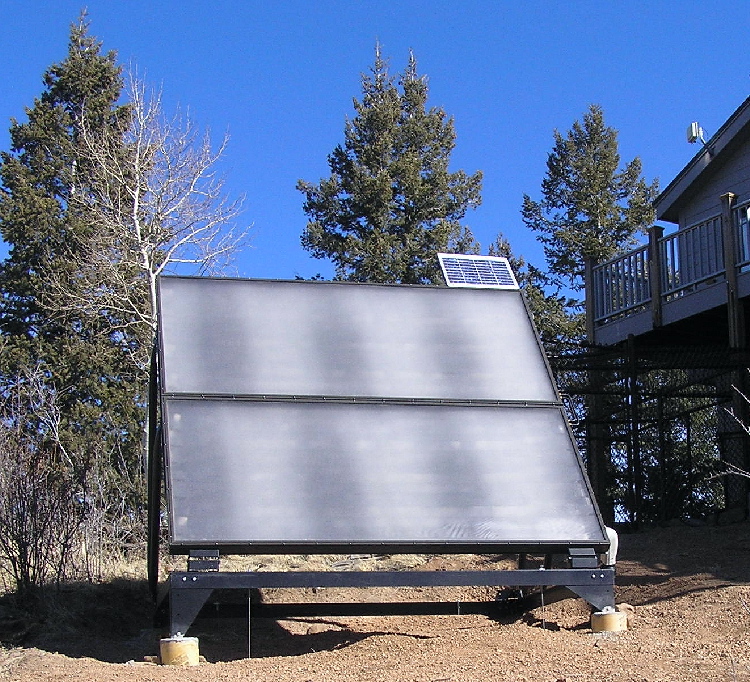 SOL panels fully at work | solar panel, the small pump in the Heat Exchanger starts & pumps the glycol thru the solar panals & back to the heat exchanger where it pre-heats our domestic hot water which then flows to our existing hot water tank as we use hot water |