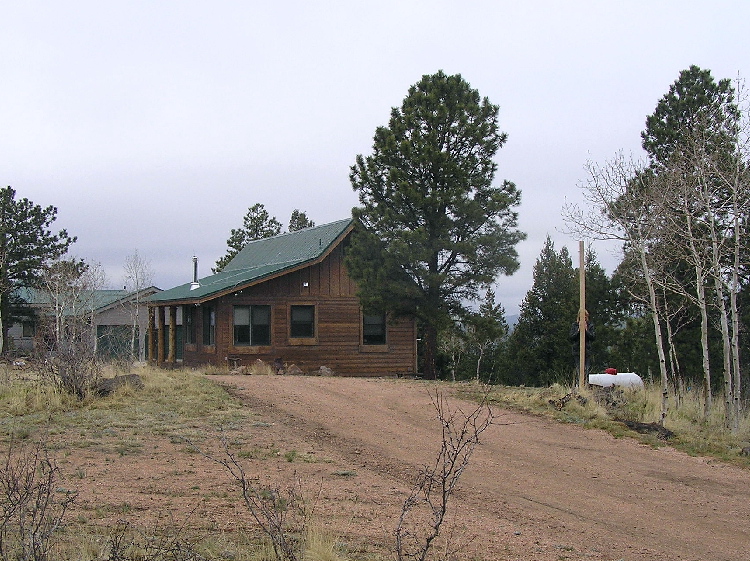
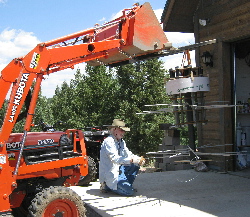
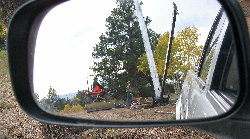
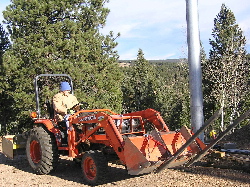
Wonder if we could
install 1 of those . . . 3/08
| 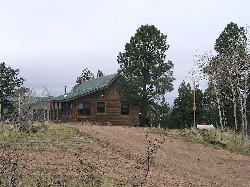
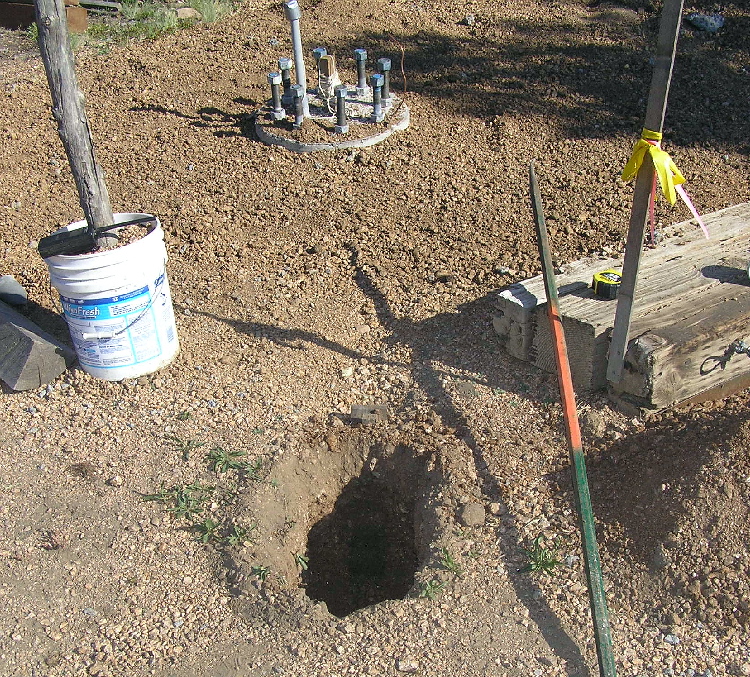
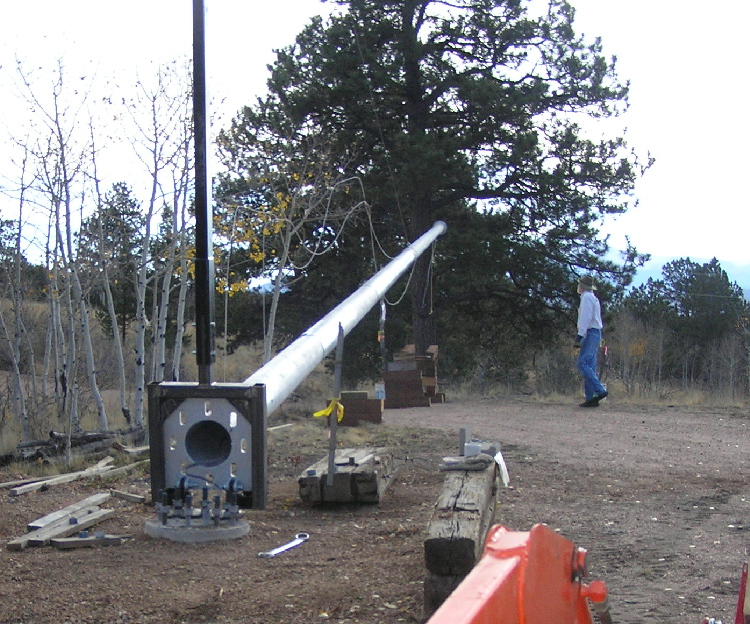
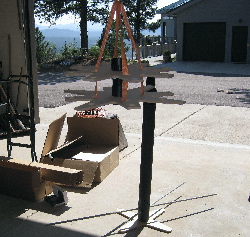
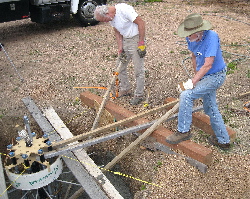
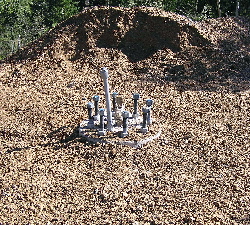
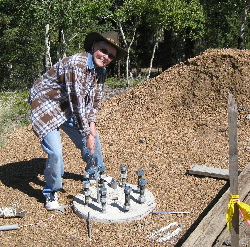
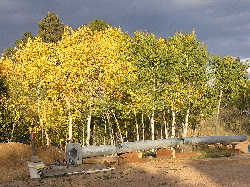
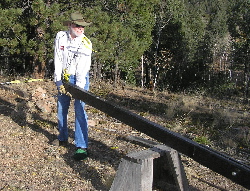
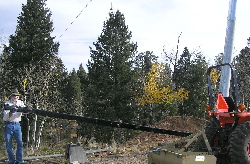
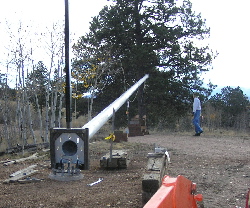
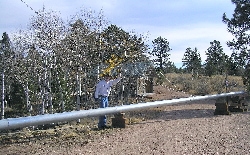
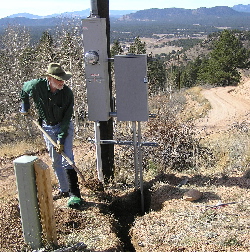
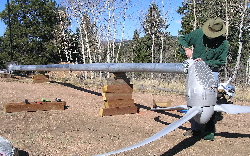
Let's put the Wind Turbine where
Shaar is hiding behind that 2x4
5/26/08
| 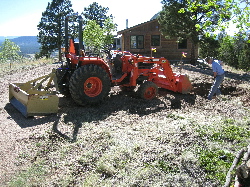
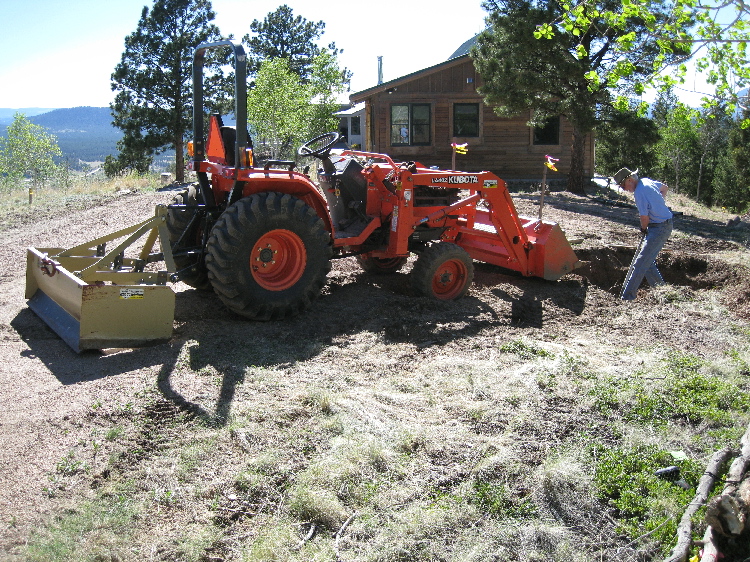
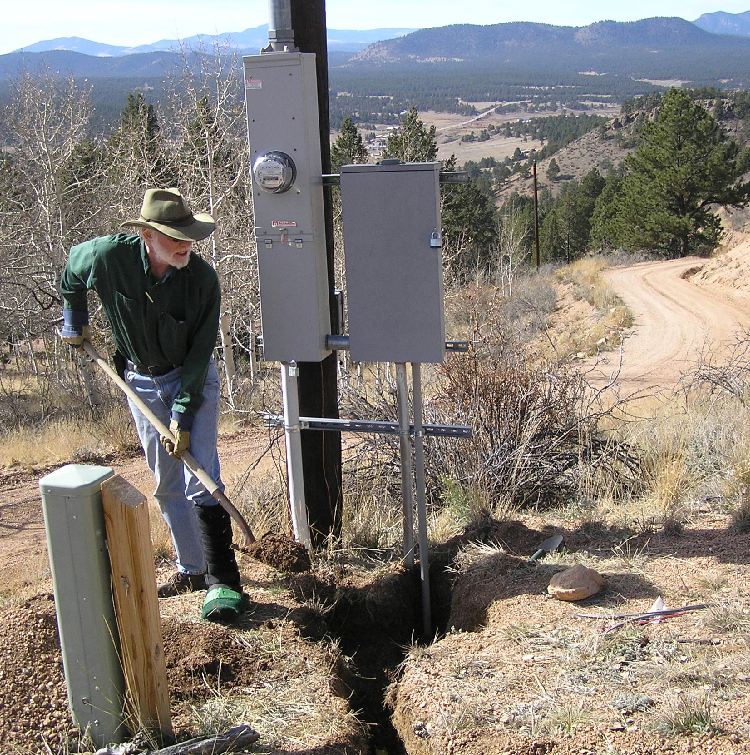
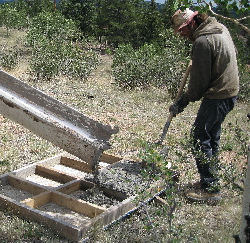
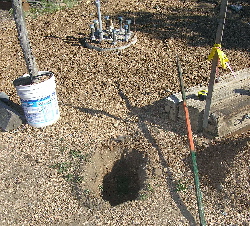
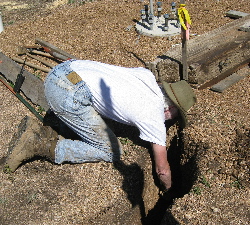
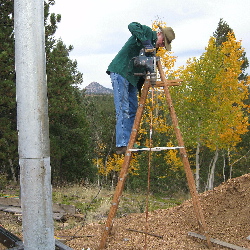
Neil starts a test hole
for the foundation 6/6/08
|

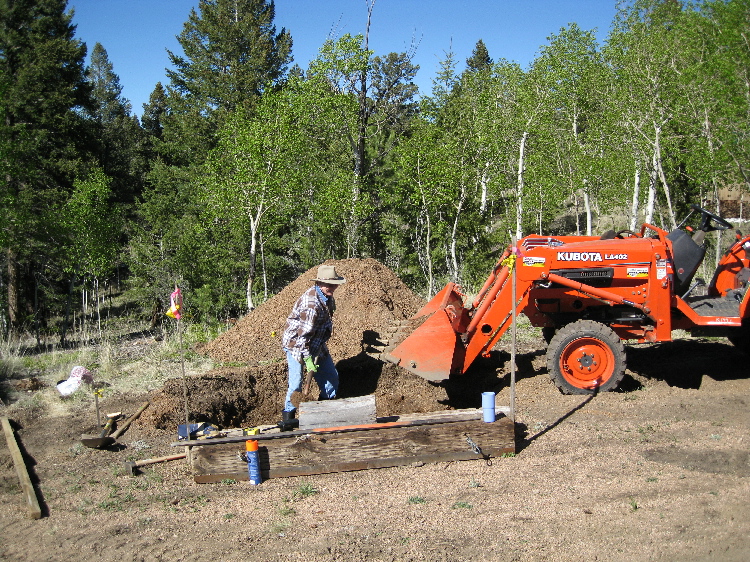
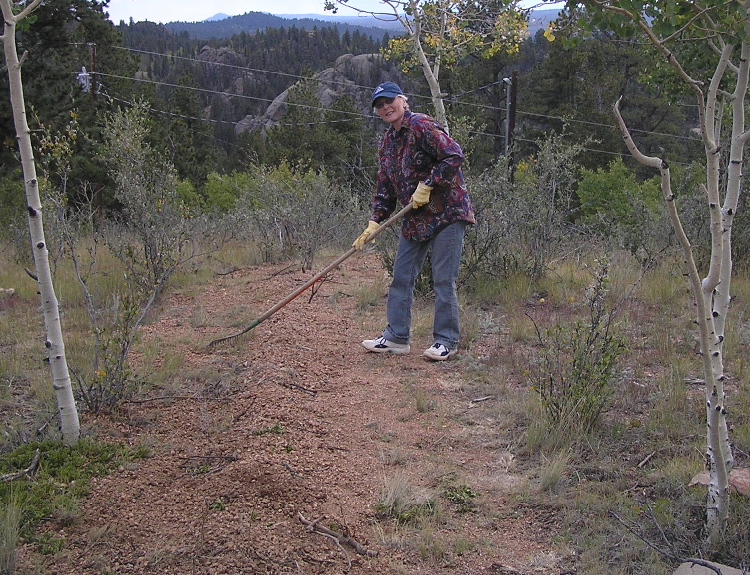
Michal takes a turn
at the shovel 6/6/08
|
PLANS FALLING INTO PLACE
SO WE APPLY FOR BUILDING
PERMIT 6/13/08 (FRIDAY)!
| 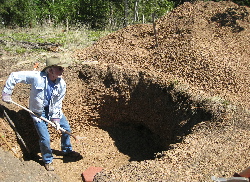
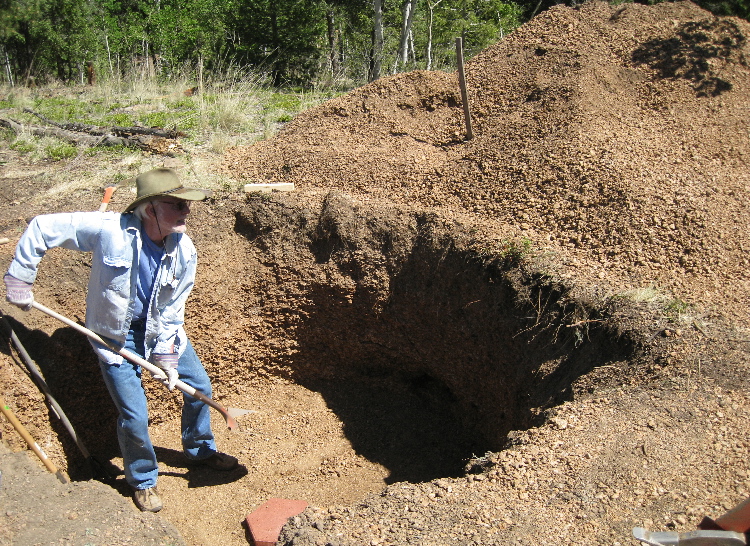
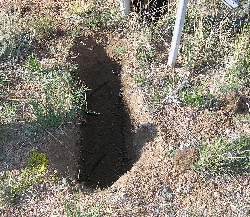
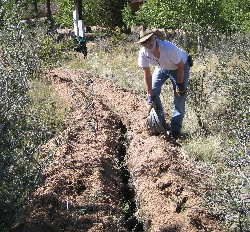
The (almost) last shovel full
leaves the foundation
excavation 6/14/08
|

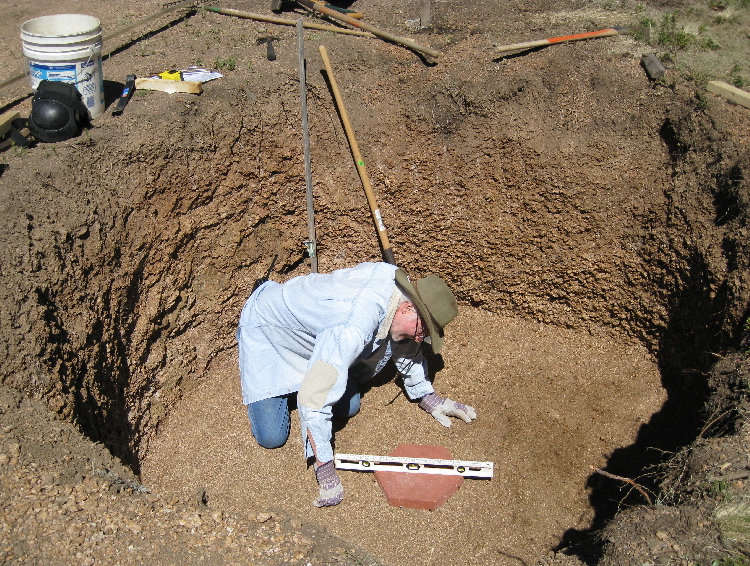
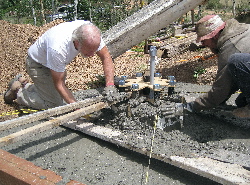
Leveling the base for the
foundation structure 6/14/08
("Test hole" until we get the
building permit)
| 
7/8/08 Building permit issued.
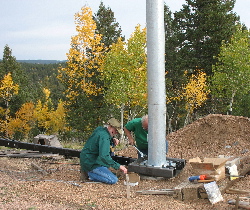
7/9/08 start on SMarT foundation
| 
Inserting FRP re-bar in lower
stanchion (FRP is
Fiber Reinforced Polymer)
|

Placing steel rebar over
stanchion, resting on FRP
| 
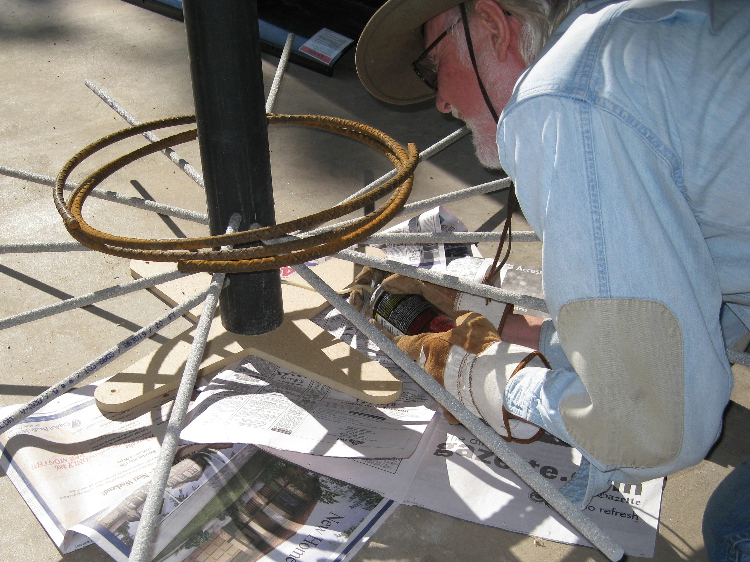
Placing FRP rebar on upper
stanchion
| 
Injecting expanding foam to
secure FRP rebar
|
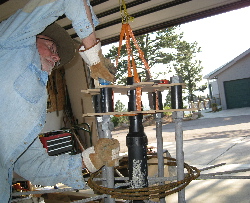
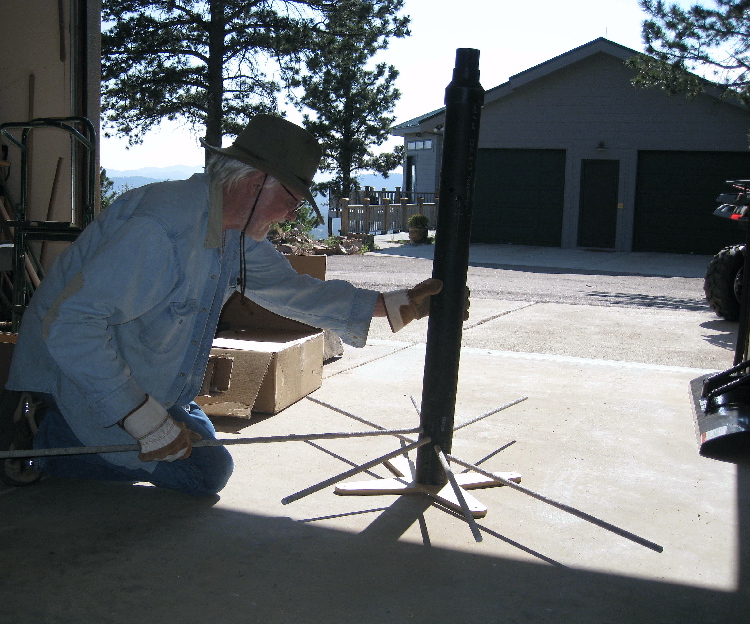
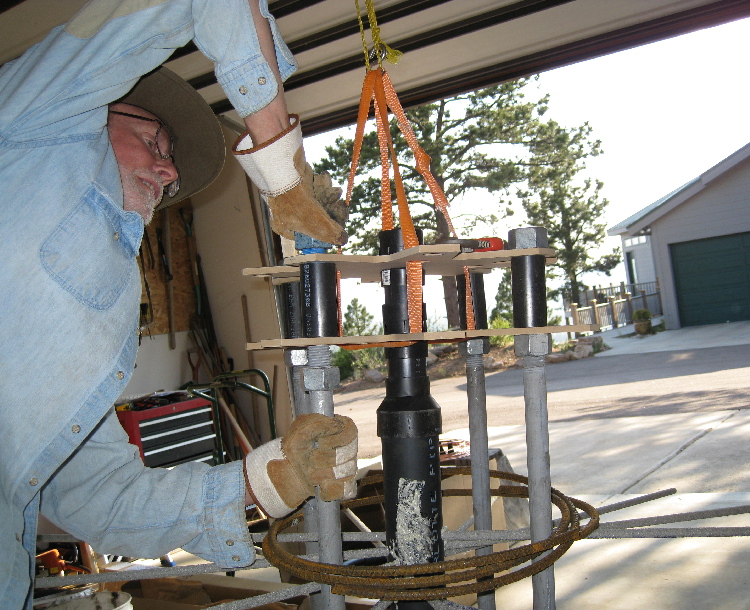
Assembly suspended from ceiling
so can place anchor bolts and
template over rebar stanchion.
Upper steel rebar in place
| 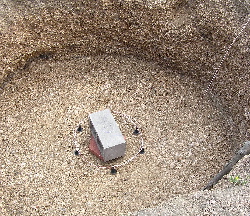
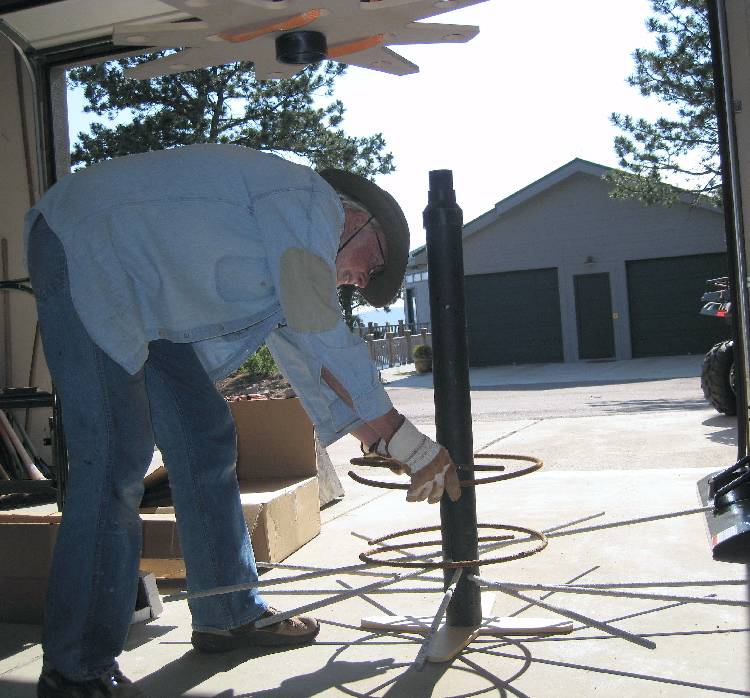
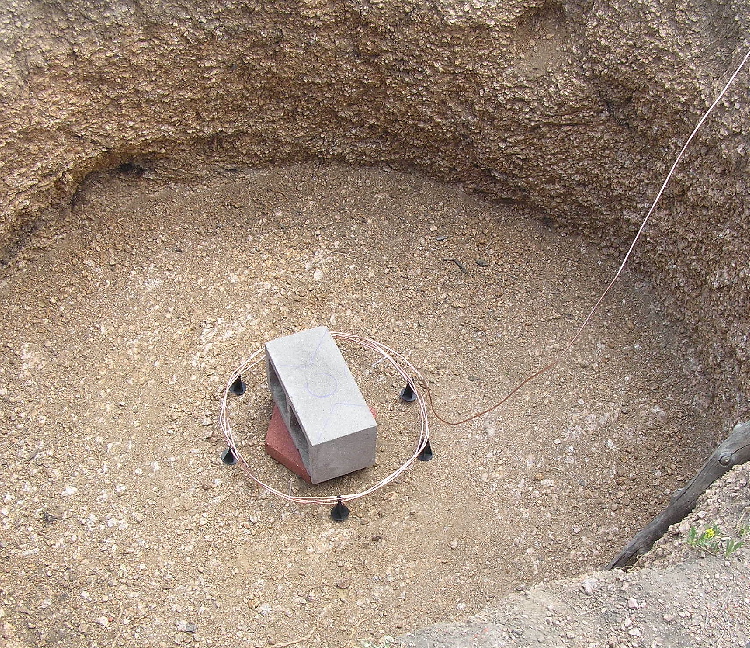
Copper grounding coil in place
2-1/2" above base of Concrete
7/10/08
| 
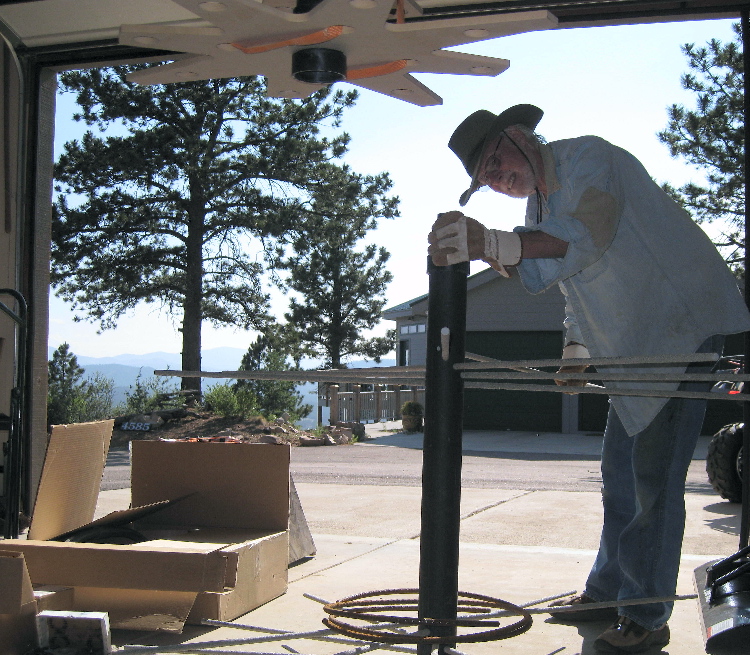
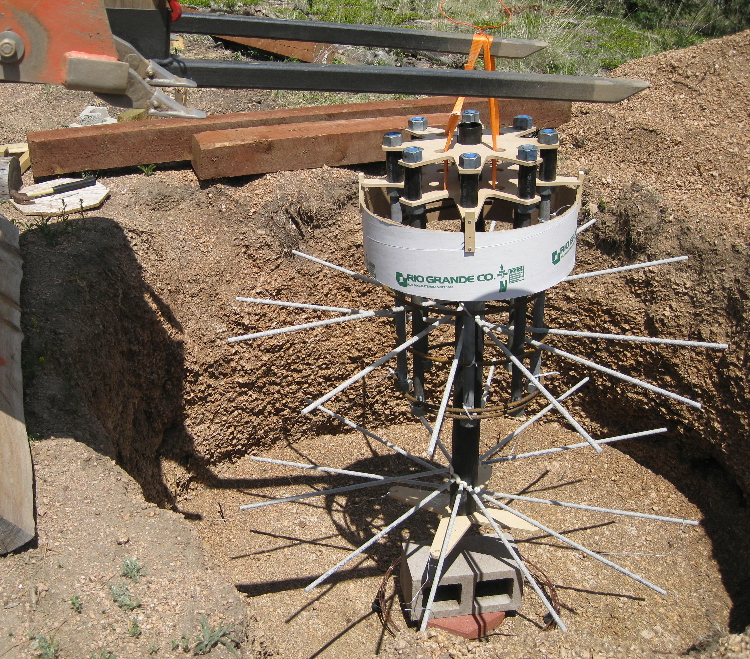
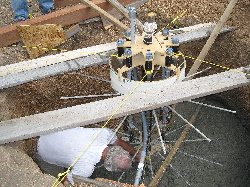
Sonotube attached. Rebar rings
secured to anchor bolts.
Securing wires to steady base.
|
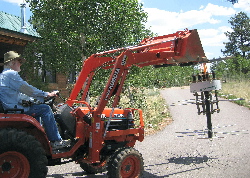
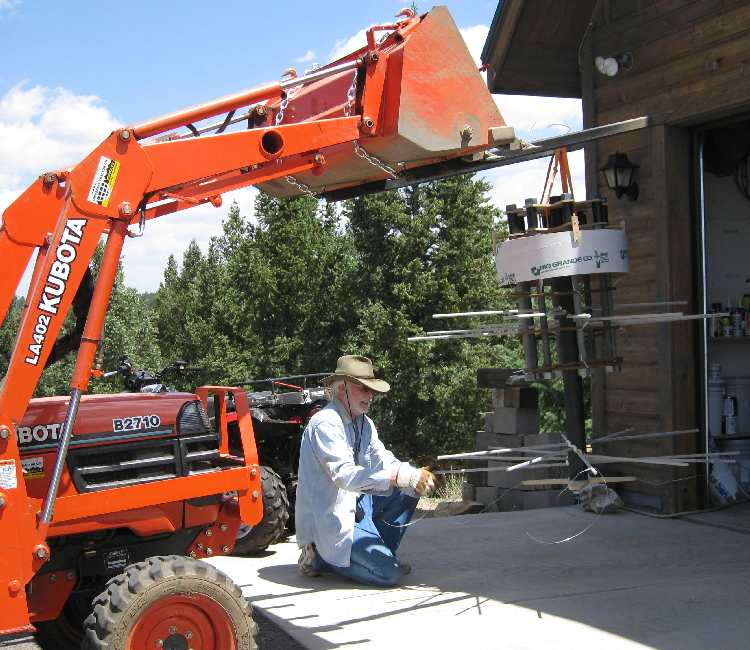
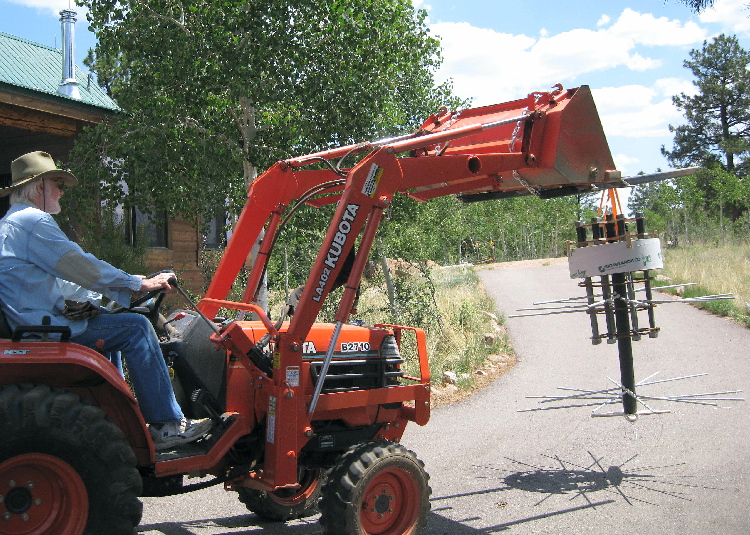
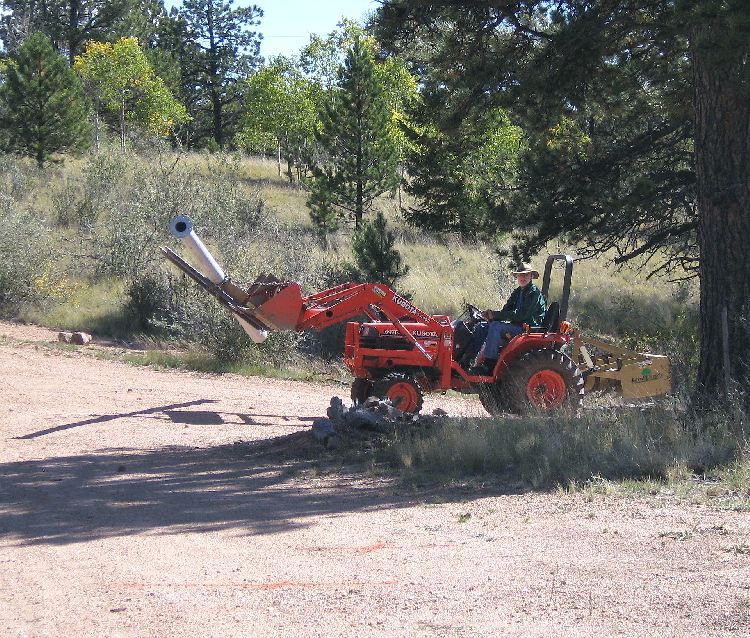
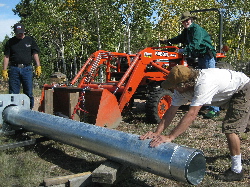
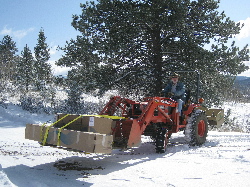
Transporting to excavation
|
Lowering into place
|
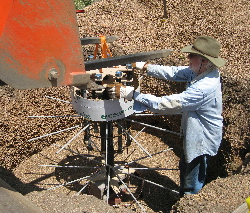
Final check before last 2" down
|
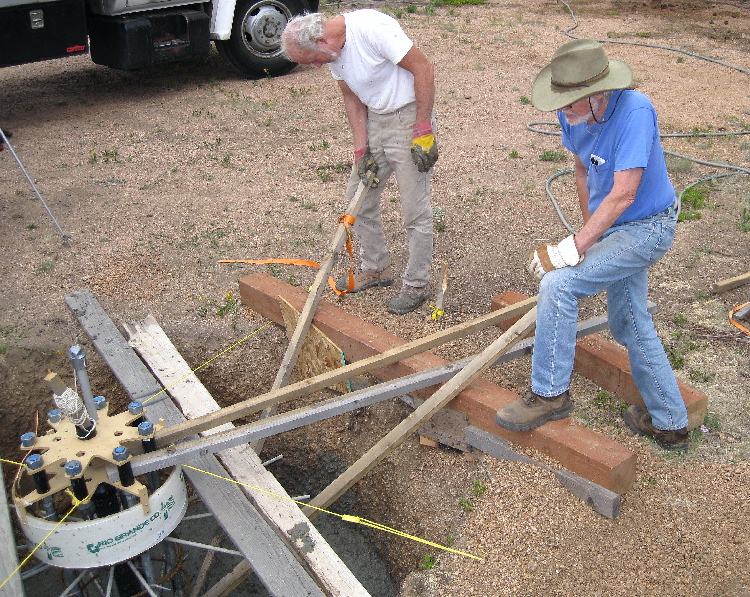
Re-siting on foundation blocks
| 
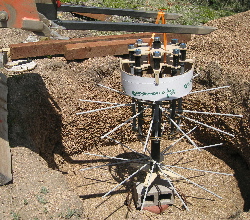
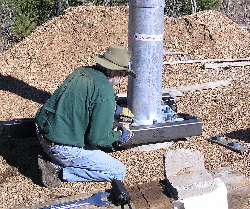
7/12/08 Alligned, leveled, secured,
electrical conduit in place, ready
for inspection and concrete pour
| 
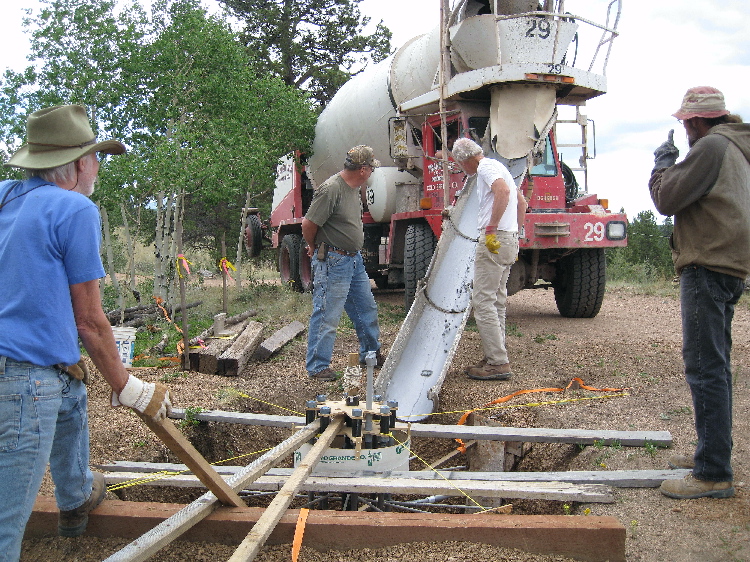
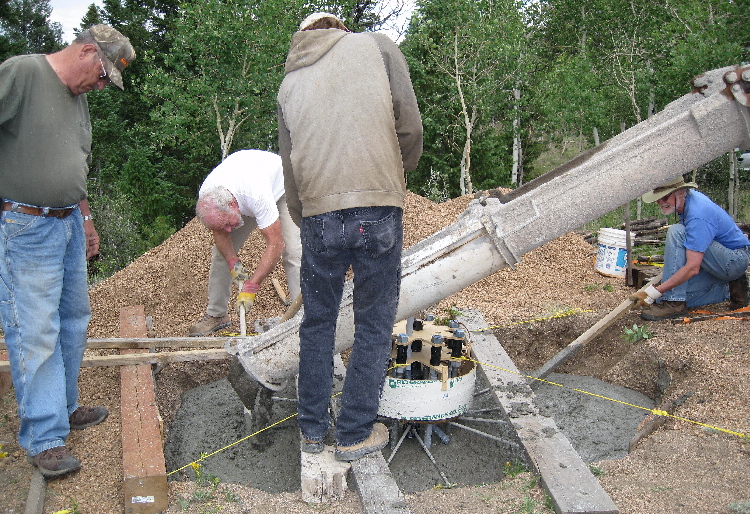
Neil, Gerald, Gene & Aaron
ready for the first mud 7/22/08
|
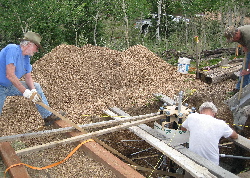
Neil braces, Gene gets into
his work, Gerald controls flow
| 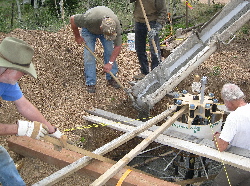
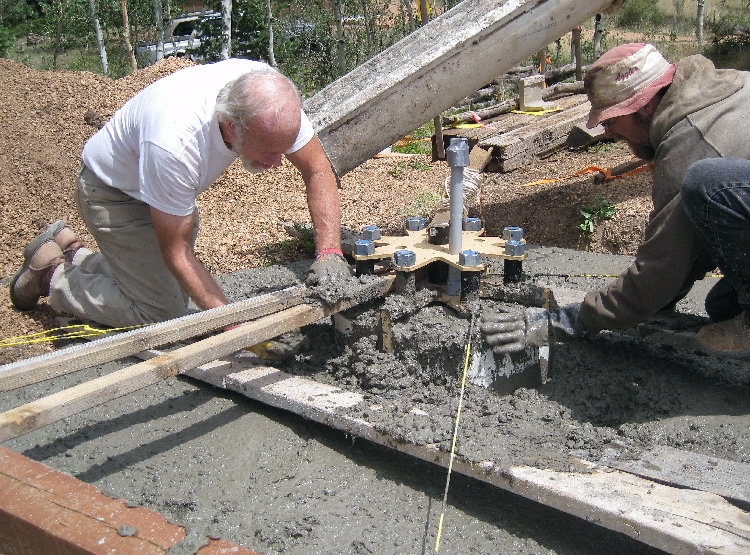
About to cover base
| 
Gene makes sure base
is filled solid
|
About half full
|

Insuring Mud reaches all
nooks and crannies
| 
Hand work to fill the
raised center column
|
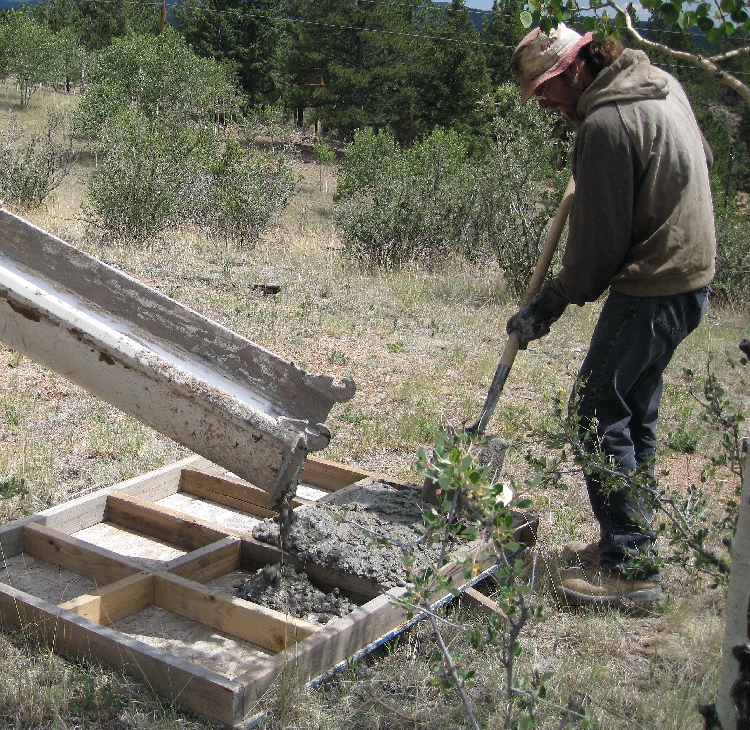
Aaron makes stepping stones
with the extra mud
|

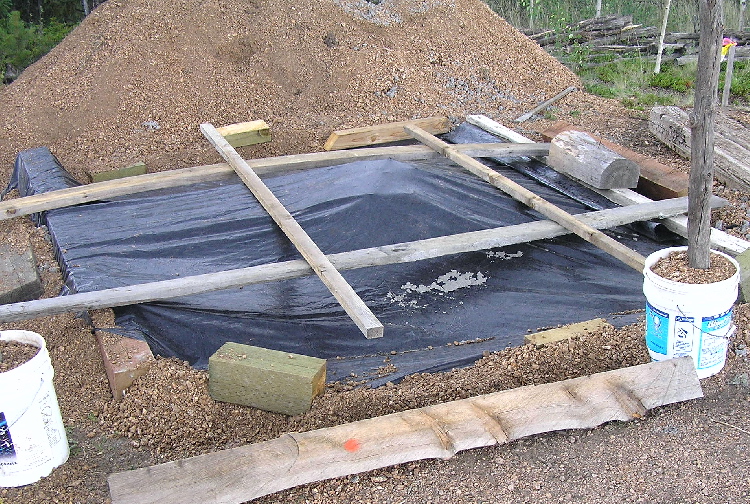
Let it cure for a few weeks
| 
9/2/08-Home from vacation
Foundation cured and ready for
tower
|
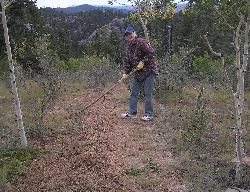
Hand dug trench-top 9/9/08
| 
Hand dug meter end
| 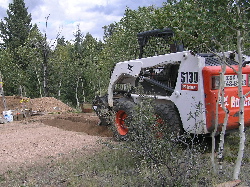
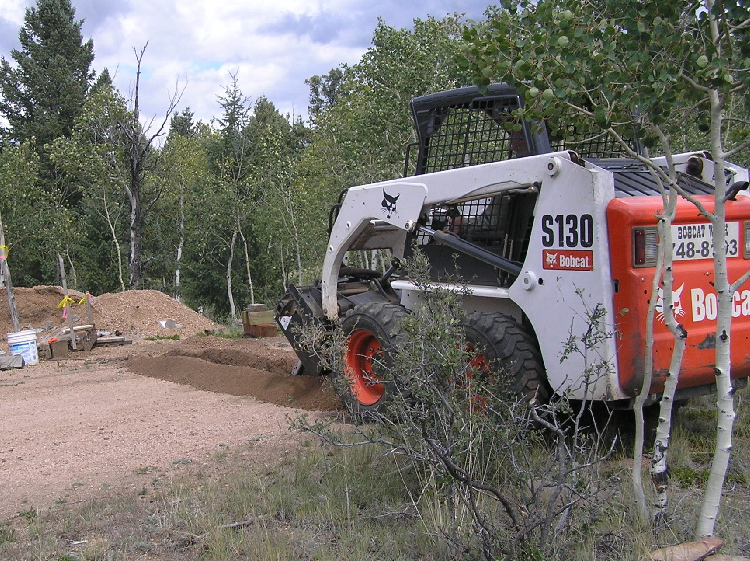
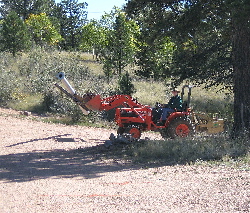
Mike starts Bobcat trench
9/11/08
|
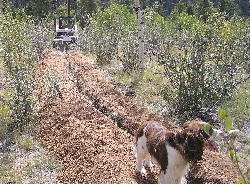
Mike trenches - one of
his 3 dogs inspects
| 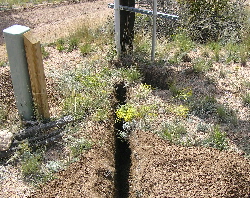
Trench end - meter pole
| 
Where-da-heck is the
end of that conduit? 9/13/08
|
Unrolling cable 9/15/08
| 
Success! Cable thru
conduit in foundation
| 
Trench filled in - Michal
adds final touch 9/20/08
|
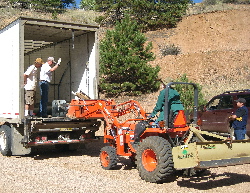
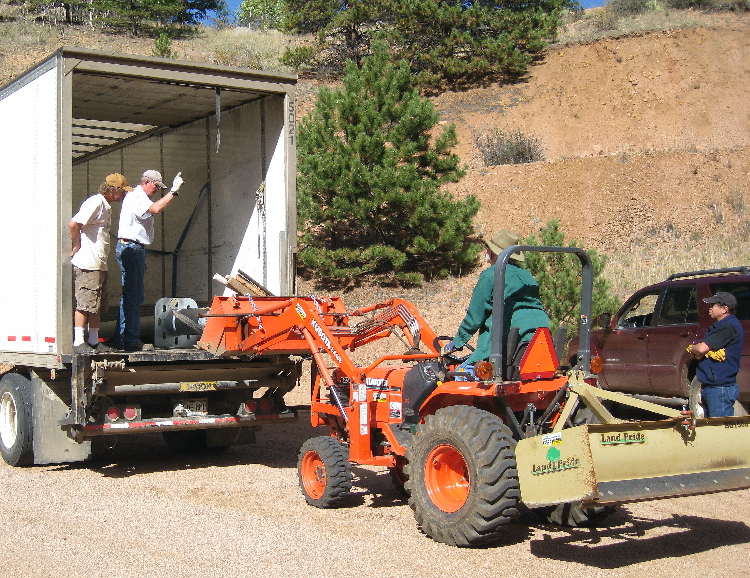
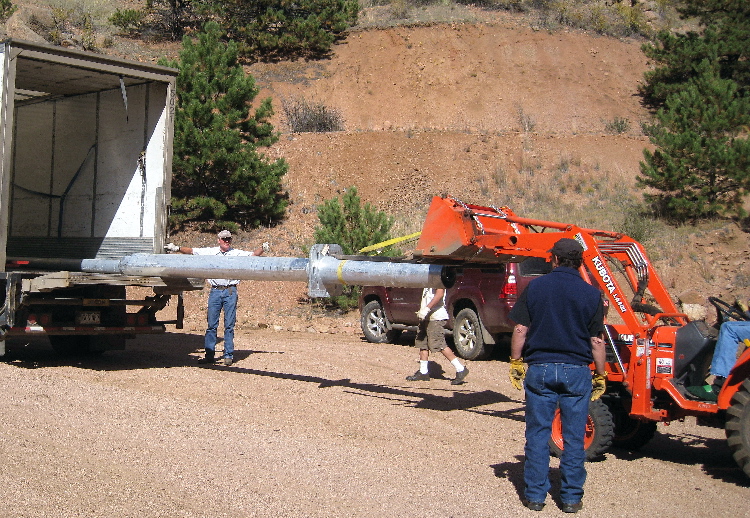
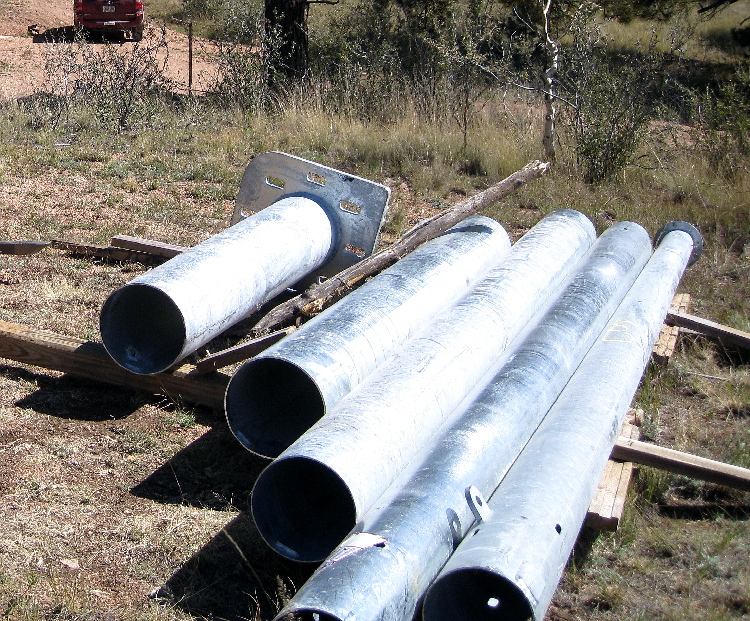
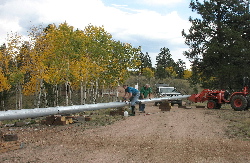
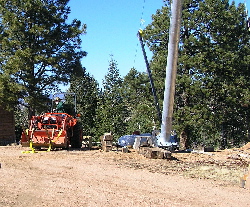
Nested Tec-Wind tower sections
ready to be unloaded. William,
Glen (truck driver), John
FVFR Vol - all helping 9/22/08
| 
Off come the tower sections
| 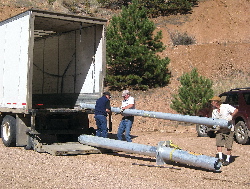
Separate top section unloaded
the old fashioned way
|
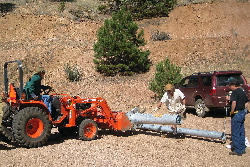
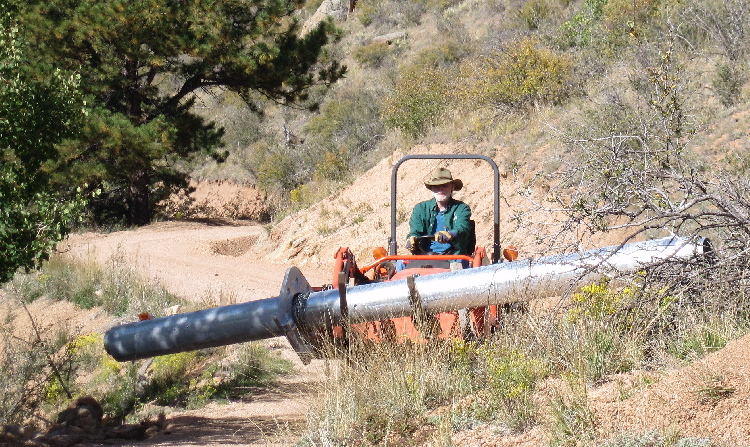
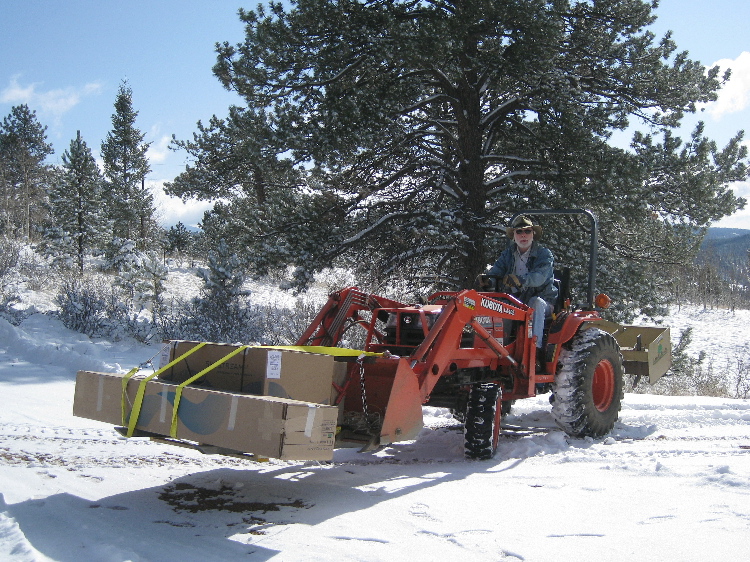
Loading heavy nested tower
sections for the run uphill
| 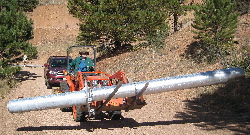
Starting up the driveway
| 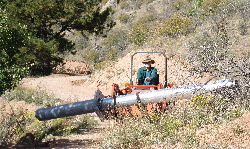
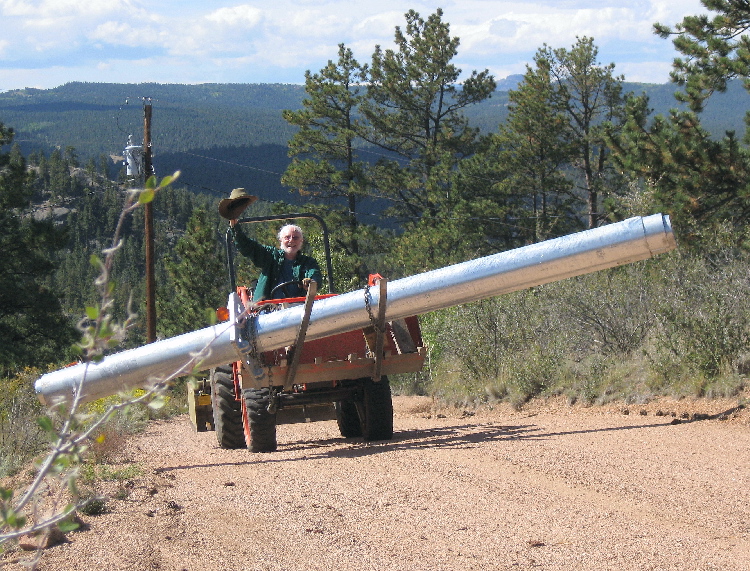
3/4 mile later all sections still on!
|
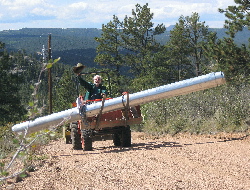
Almost to top . . .
| 
Nested sections parked
| 
Top section almost there
|
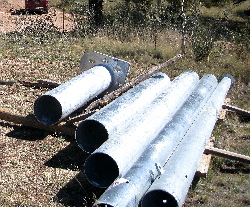
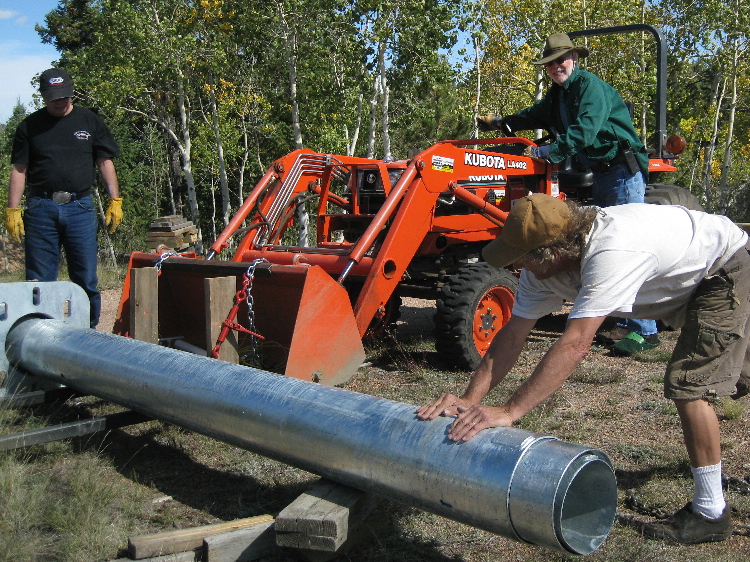
Sections un-nested & ready
for de-burring and assembly
| 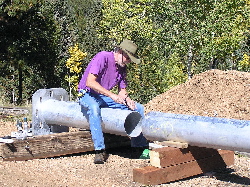
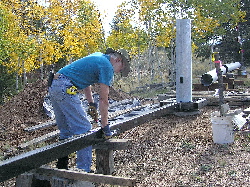
De-burring joints with file
9/25/08
| 
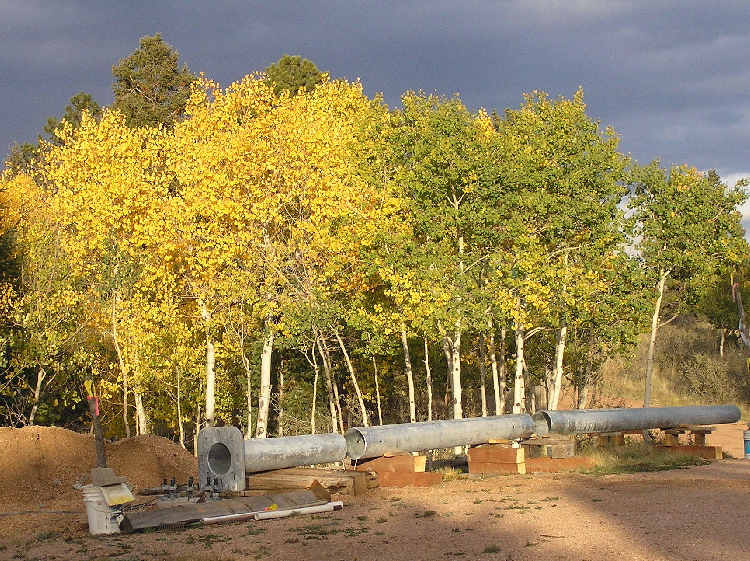
3 of 5 tower sections in place
(sort of), ready for assembly.
Oh, and the Aspen are turning.
9/28/08
|
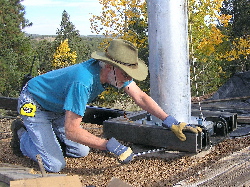
Tightening hinge base with
1st tower section temporarily
in place 10/2/08
| 
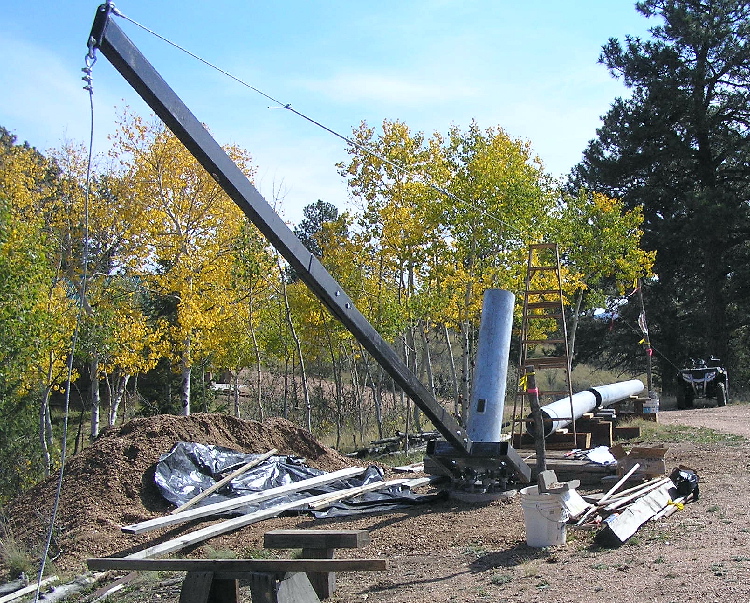
Assembling Gin Pole 10/2/08
| 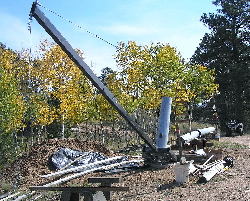
Raising Gin Pole to vertical
10/3/03
|
Dave & Janice Pistole arrive
just in time to help assemble
and
raise the tower - THANK YOU!
| 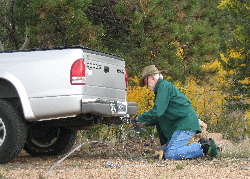
Attaching snatch block to
truck "anchor" 10/4/08
| 
Janice & Dave prepare to pull
electric cable to top
|
Checking lift cable
| 
Tower starts up
| 
Michal's view of lift. She held
brakes on "anchor truck"
|
Checking bolt allignment
| 
Pulling the last few feet by hand
| 
We did it - well, with the
help of Janice and Michal!
|
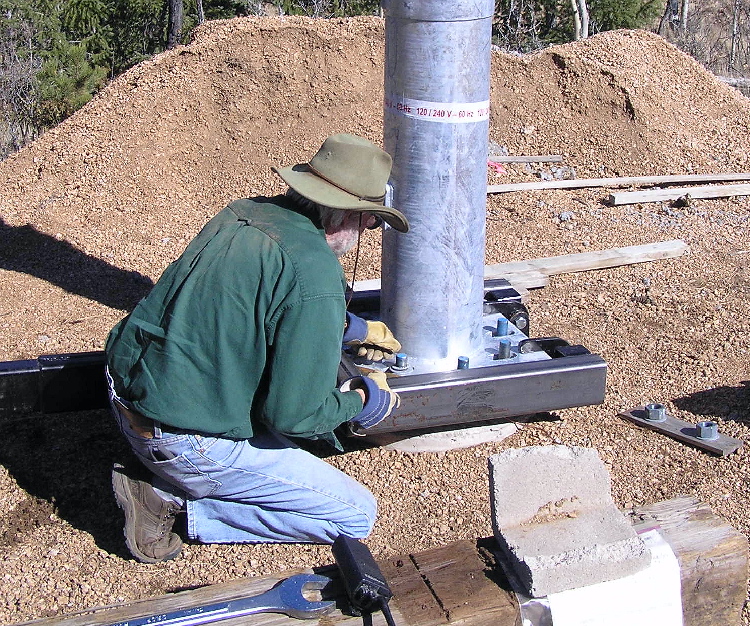
Tighten those nuts!
| 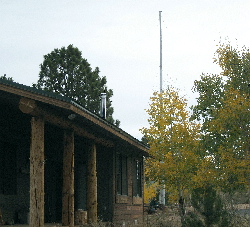
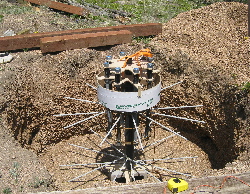
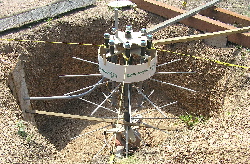
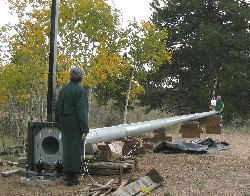
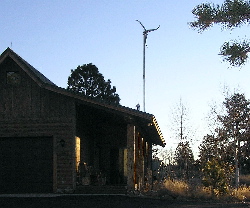
Voltair tower is up -
waiting for arrival of turbine
| 
Driving 2nd of 2 grounding rods
(a grounding coil is also
in base of foundation)
|
Removing nuts so tower may
be lowered to attach
wind turbine 10/21/08
| 
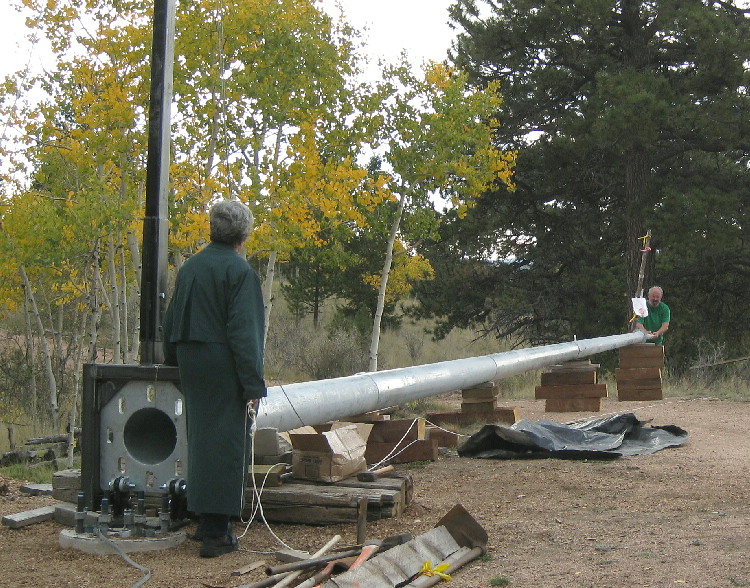
Michal ready to start backing
to lower tower after tower
is tipped by hand
| 
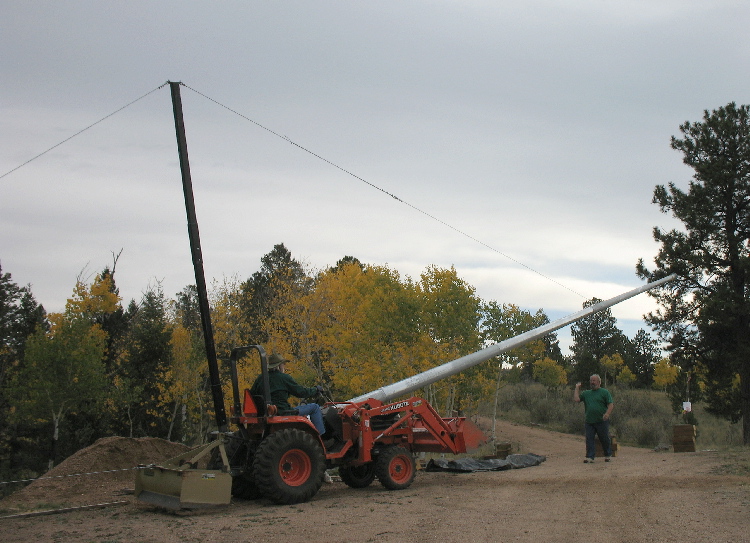
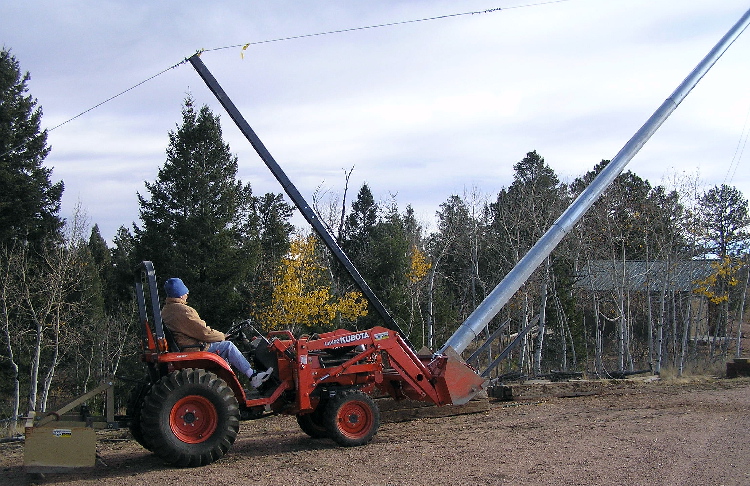
Lifting gin pole to tilt tower.
Lowering cable attached to
tractor
|
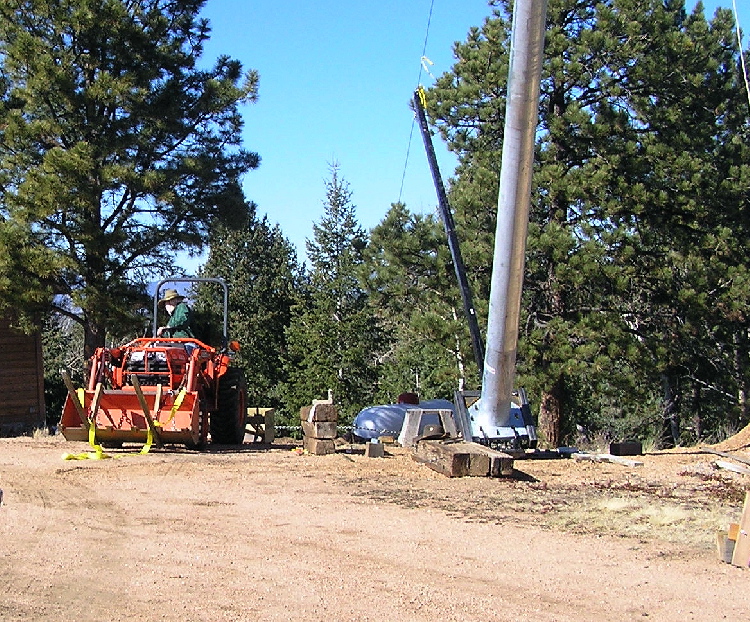
Almost to tip point. 1 more
lift and strain should be on
tractor cable
| 
Michal controls decent on
way down
| 
Almost down on blocks
|
Down, braced and ready
for turbine arrival
| 
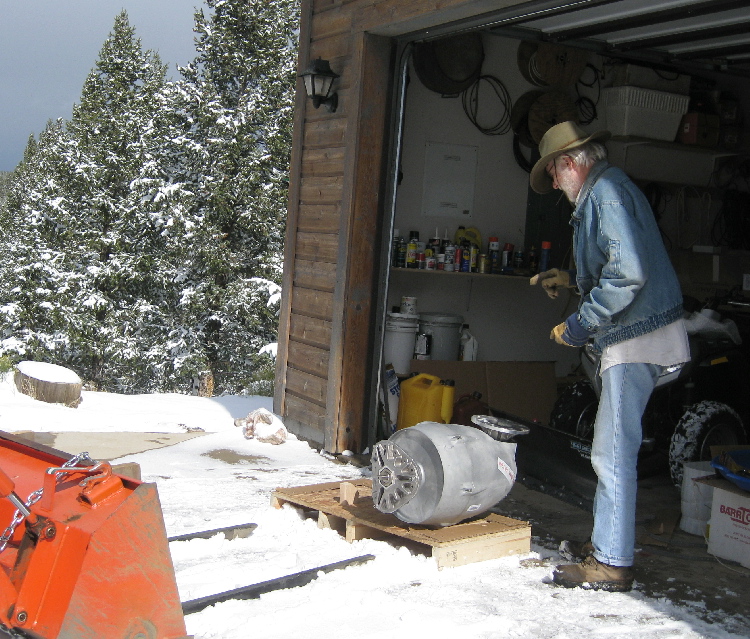
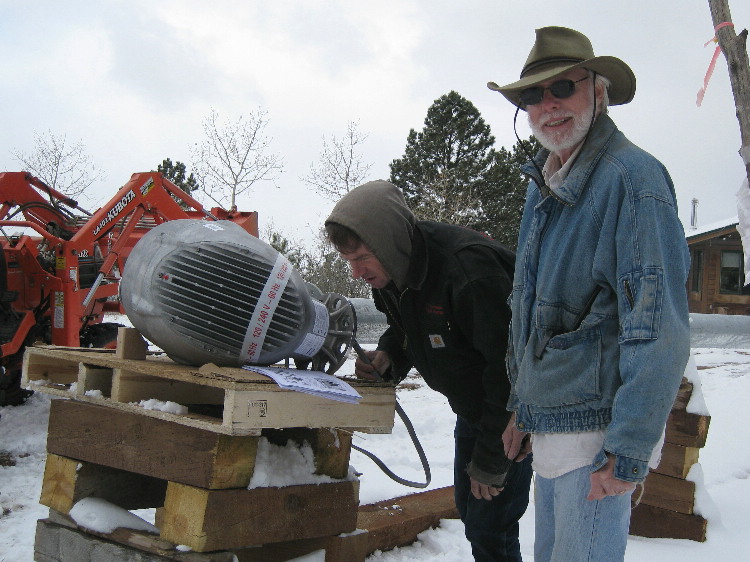
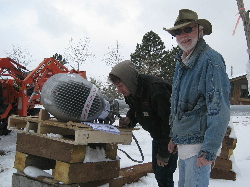
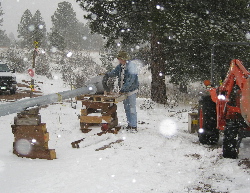
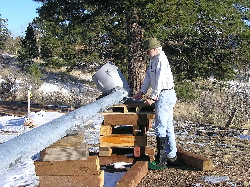
Voltair arrives! (Nice of it to
snow today, eh?) 10/22/08
| 
Is that all there is?
(Well, plus the blades.)
|
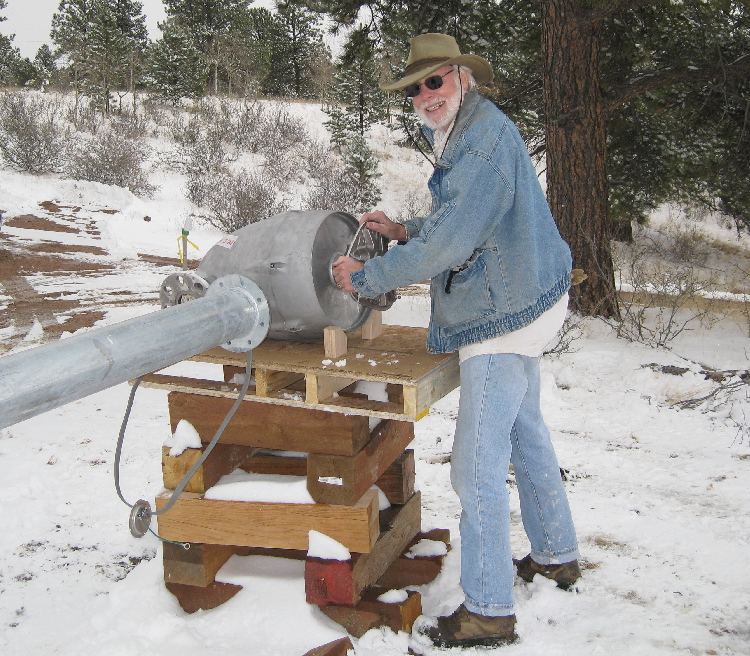
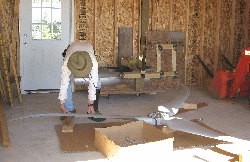
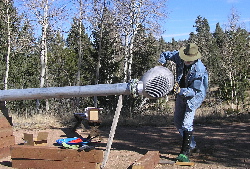
Ready to wire, test &
bolt to tower
| 
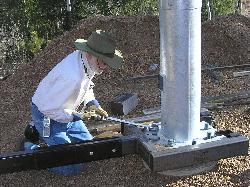
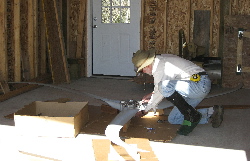
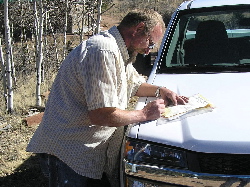
Russ connects cable. Even
checks directions!
| 
Successful "power on" test!
|
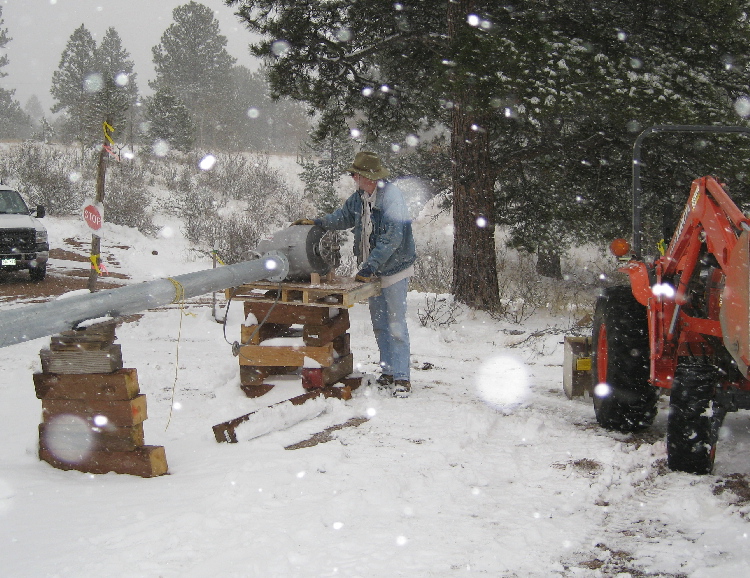
Time to quit for the day.
22 degrees and snow.
| 
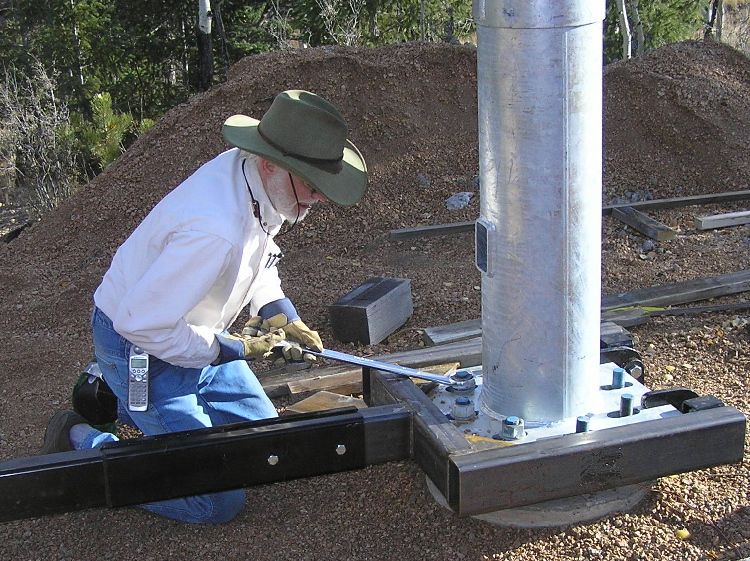
Torque those bolts 10/23/08
(Nice left boot . . .)
| 
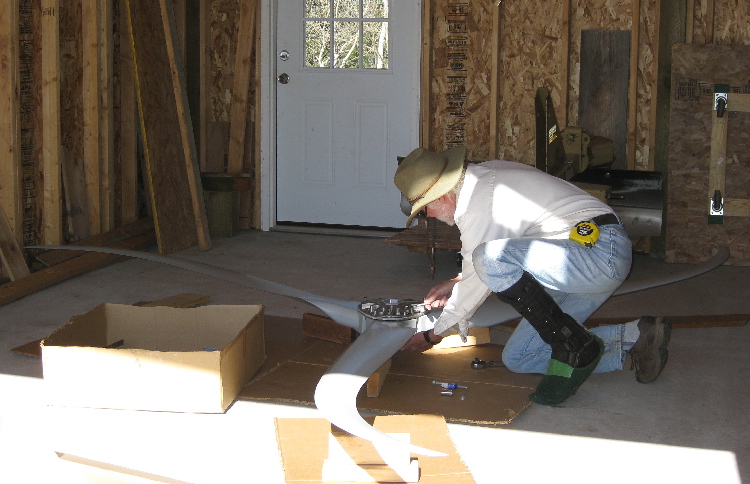
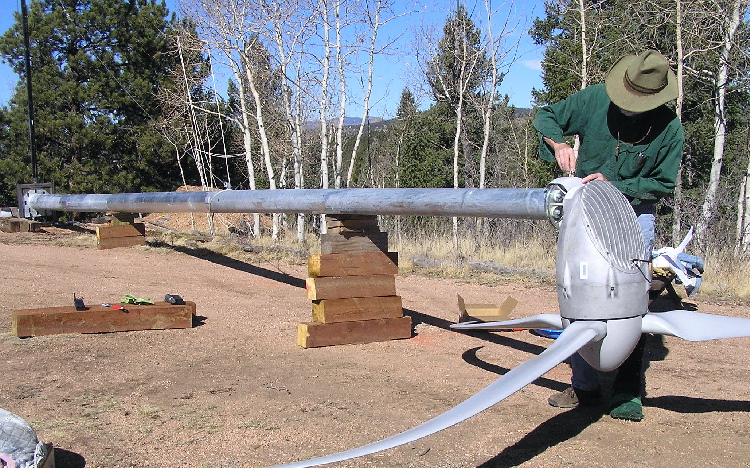
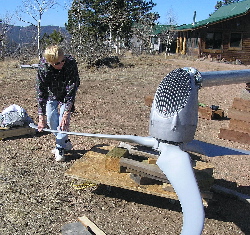
Assembling wind blades to
hub 10/24/08
|
Torque 'em!
| 
Filling last of trench after Russ
finished electrical 10/26/08
| 
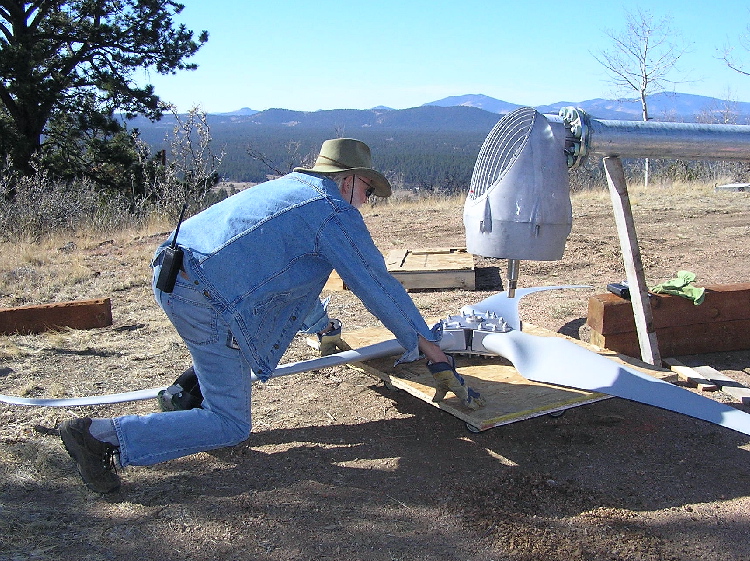
Rotate turbine so can
attach blade assembly
10/27/08
|
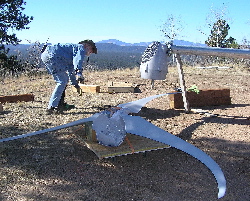
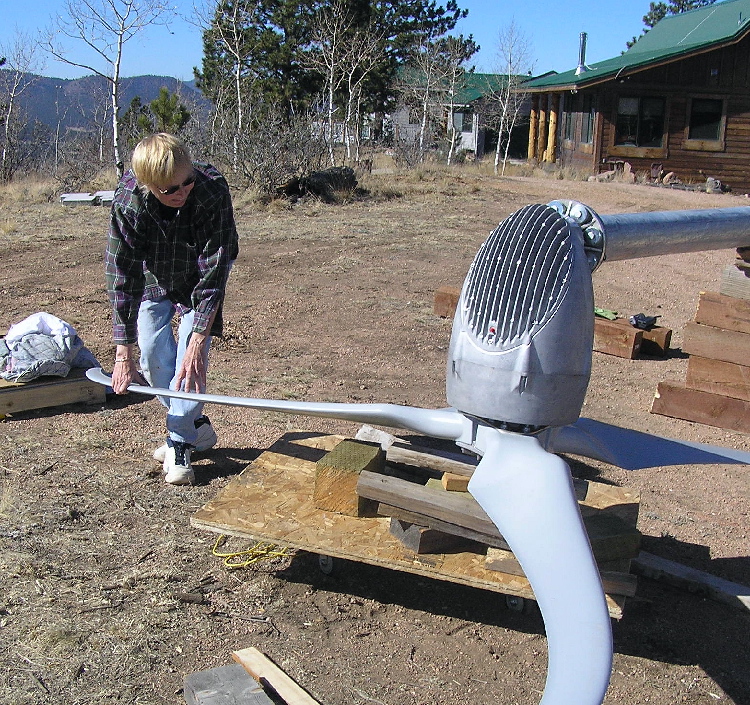
Blade assembly into position
| 
Align with shaft
| 
Spin blades tight onto shaft
|

Attach nose cone
| 
And yaw shield
| 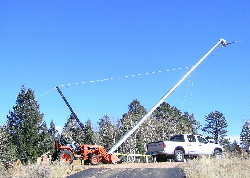
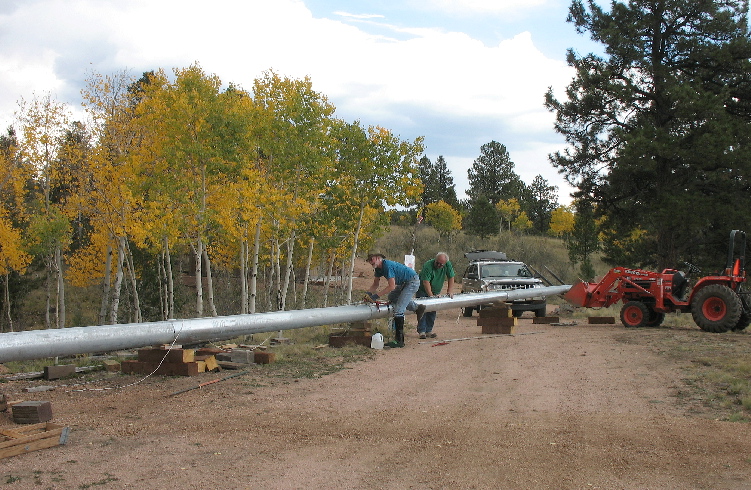
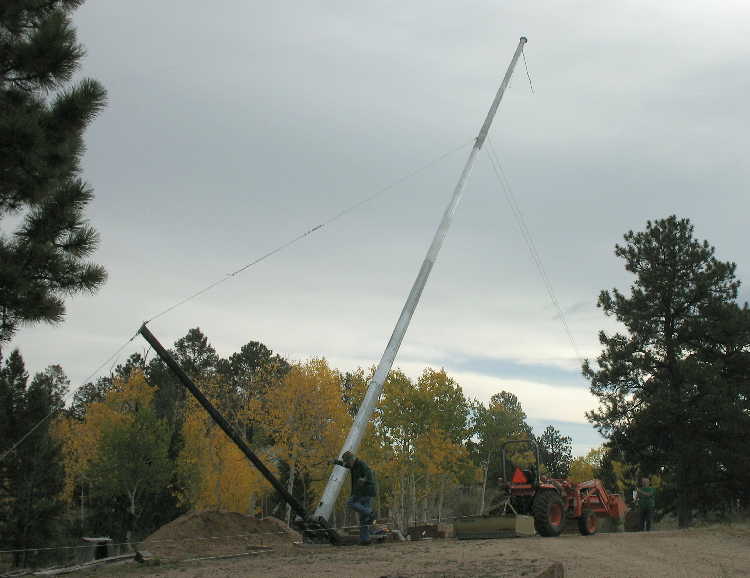
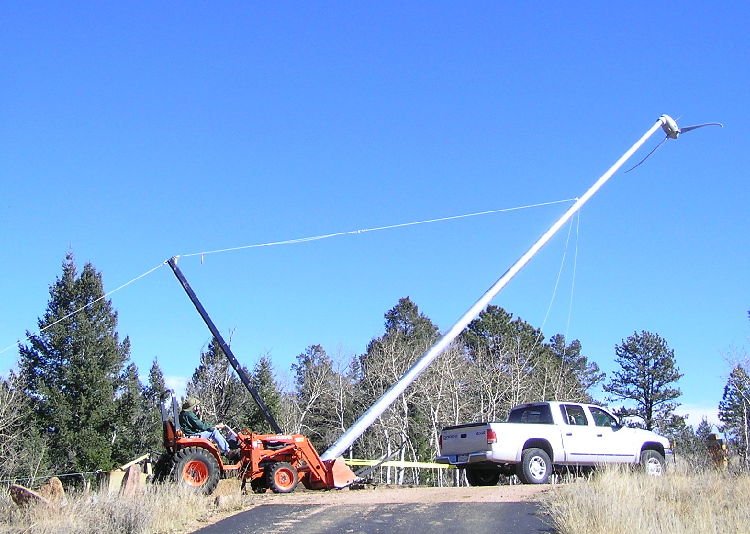
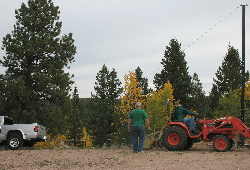
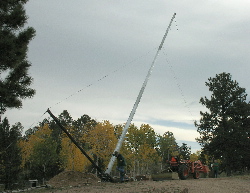
Required both tractor and
truck to start tower up
|
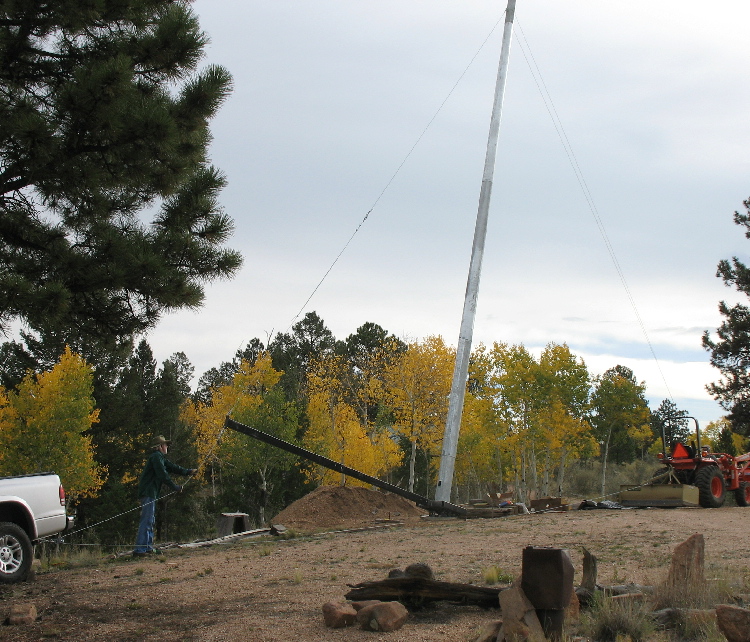
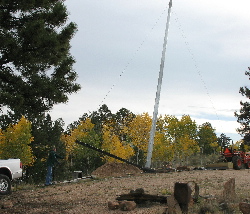
Almost up-tractor only now
| 
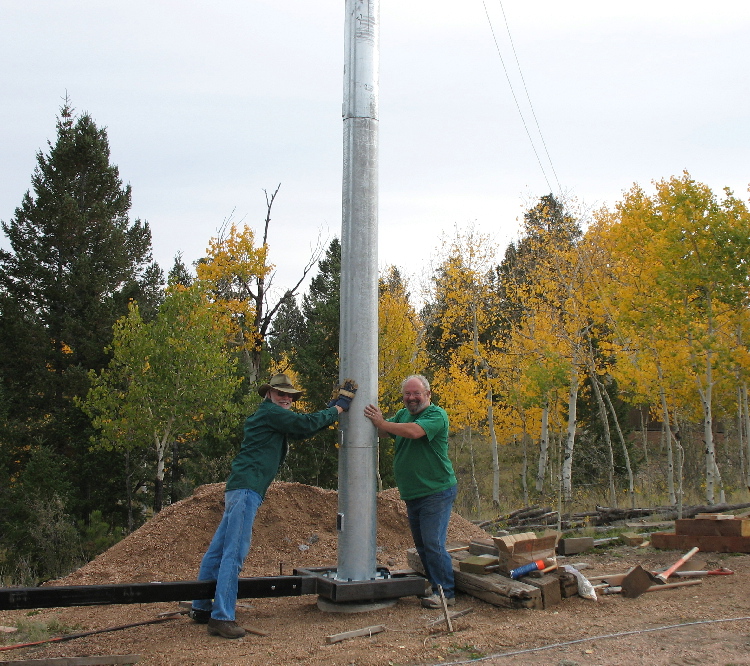
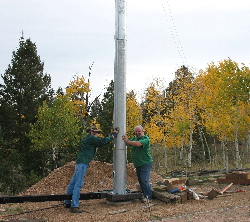
Up! Secure those nuts!
| 
Tighten 'em
|
Just need final inspection
and 2-way meter install
|
Building inspector Robert-final
sign off on project! 10/28/08
|

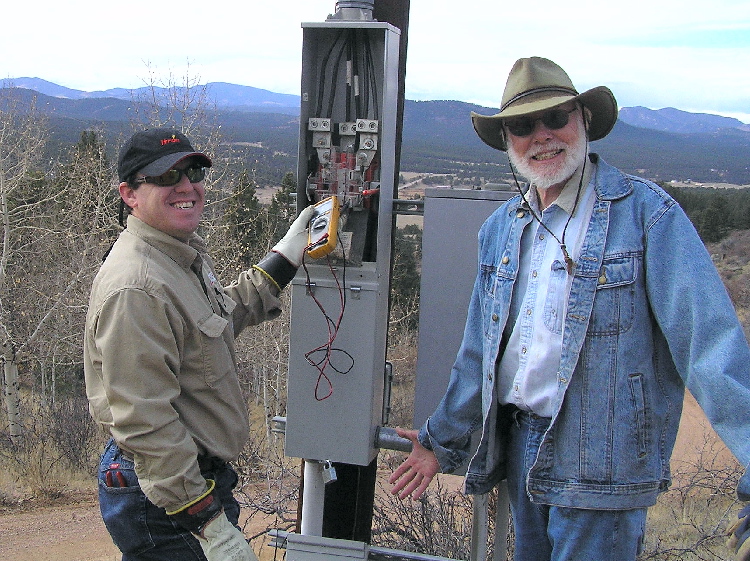
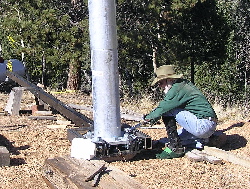
Carl from electric Co. (IREA)
advises WE PASSED the lock-
out test! 11/4/08
|
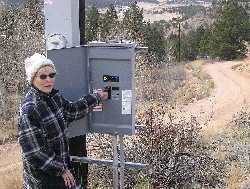
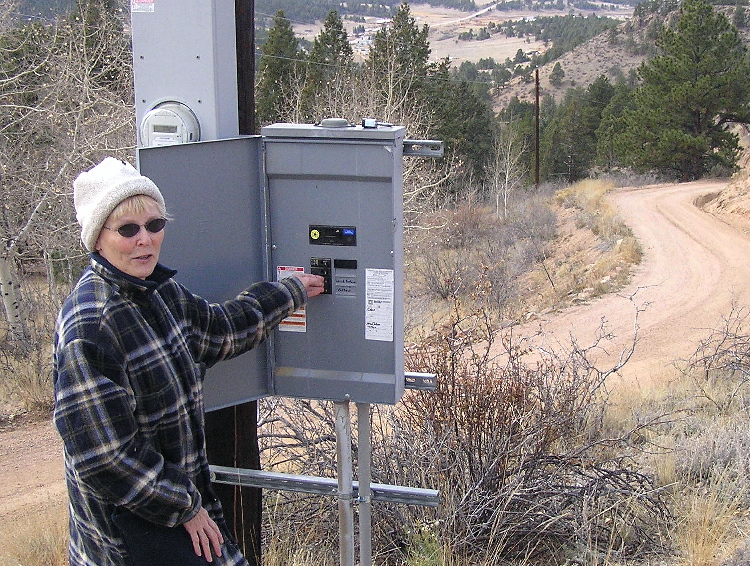
Michal throws the switch -
| 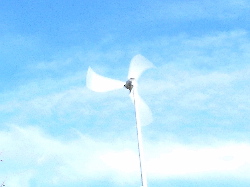
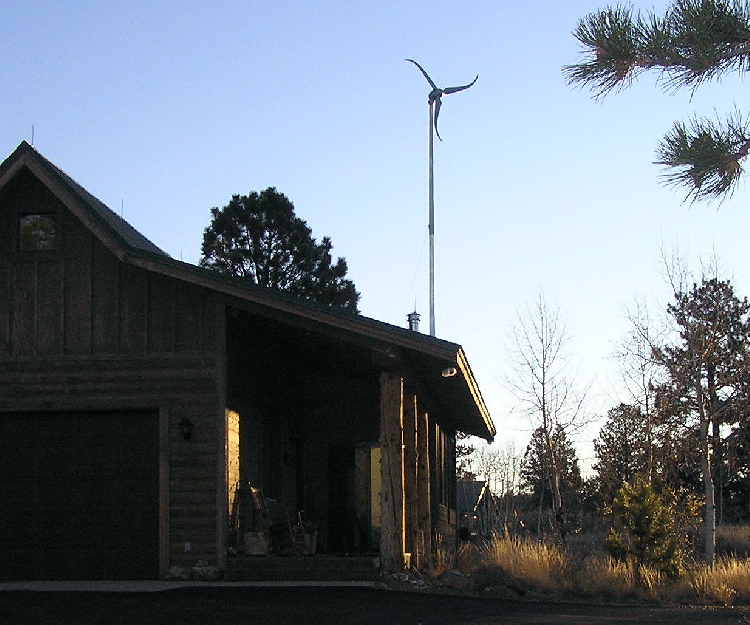
- and Voltair is generating
|
The idea was 1st discussed
in March, '08.
We began generating
some of our own electricity
11:53 am, 11/4/08!
Thanks to all who helped.
|